Local Sync Client
Overview
Sync Client is a desktop application for keeping SDA Console projects available on a local computer or network share. It runs with a background service and provides a window for selecting projects, synchronizing versions, checking projects out for editing, and checking changes back in.
The application workflow is the same on Windows and Linux. Platform-specific instructions are provided for installation and removal; the remaining screenshots show the shared interface.
Download
Download the latest package for your operating system:
Install Sync Client
Windows
-
Locate
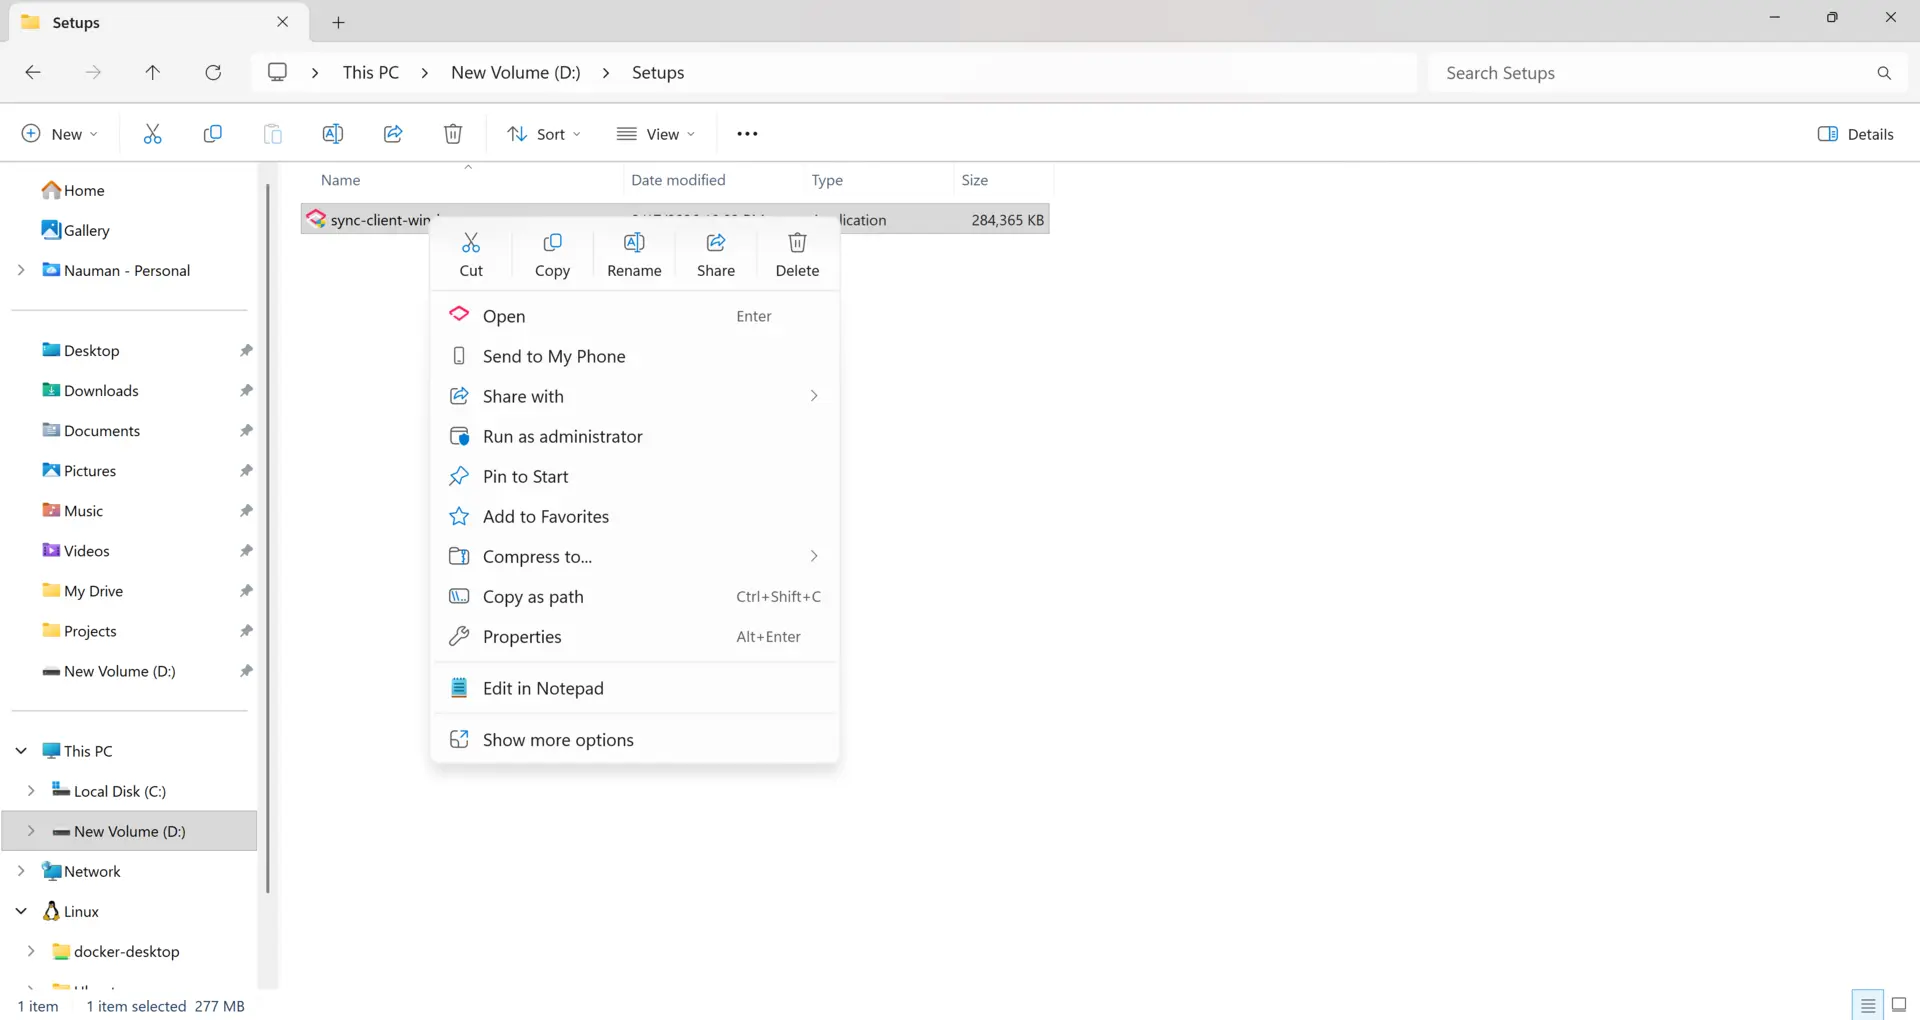
sync-client-windows-setup.exein Downloads, right-click it, and select Run as administrator. Administrator access is required.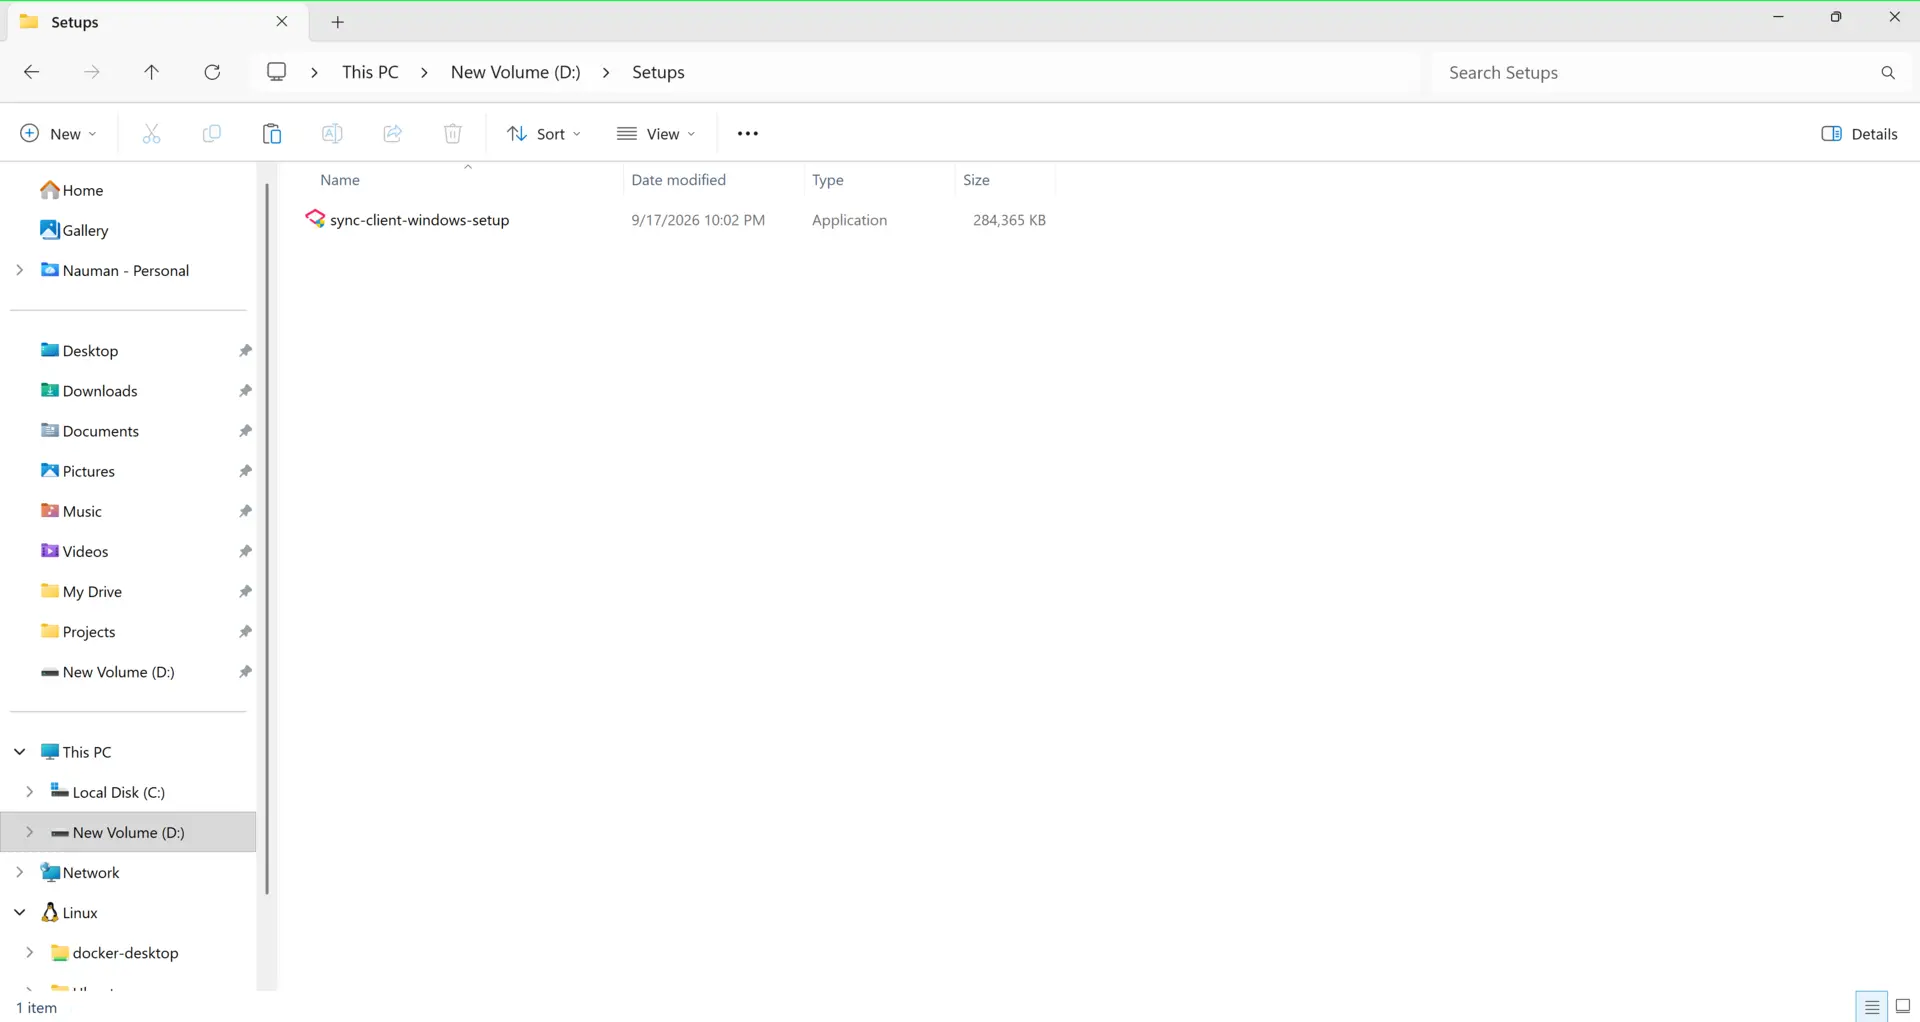
-
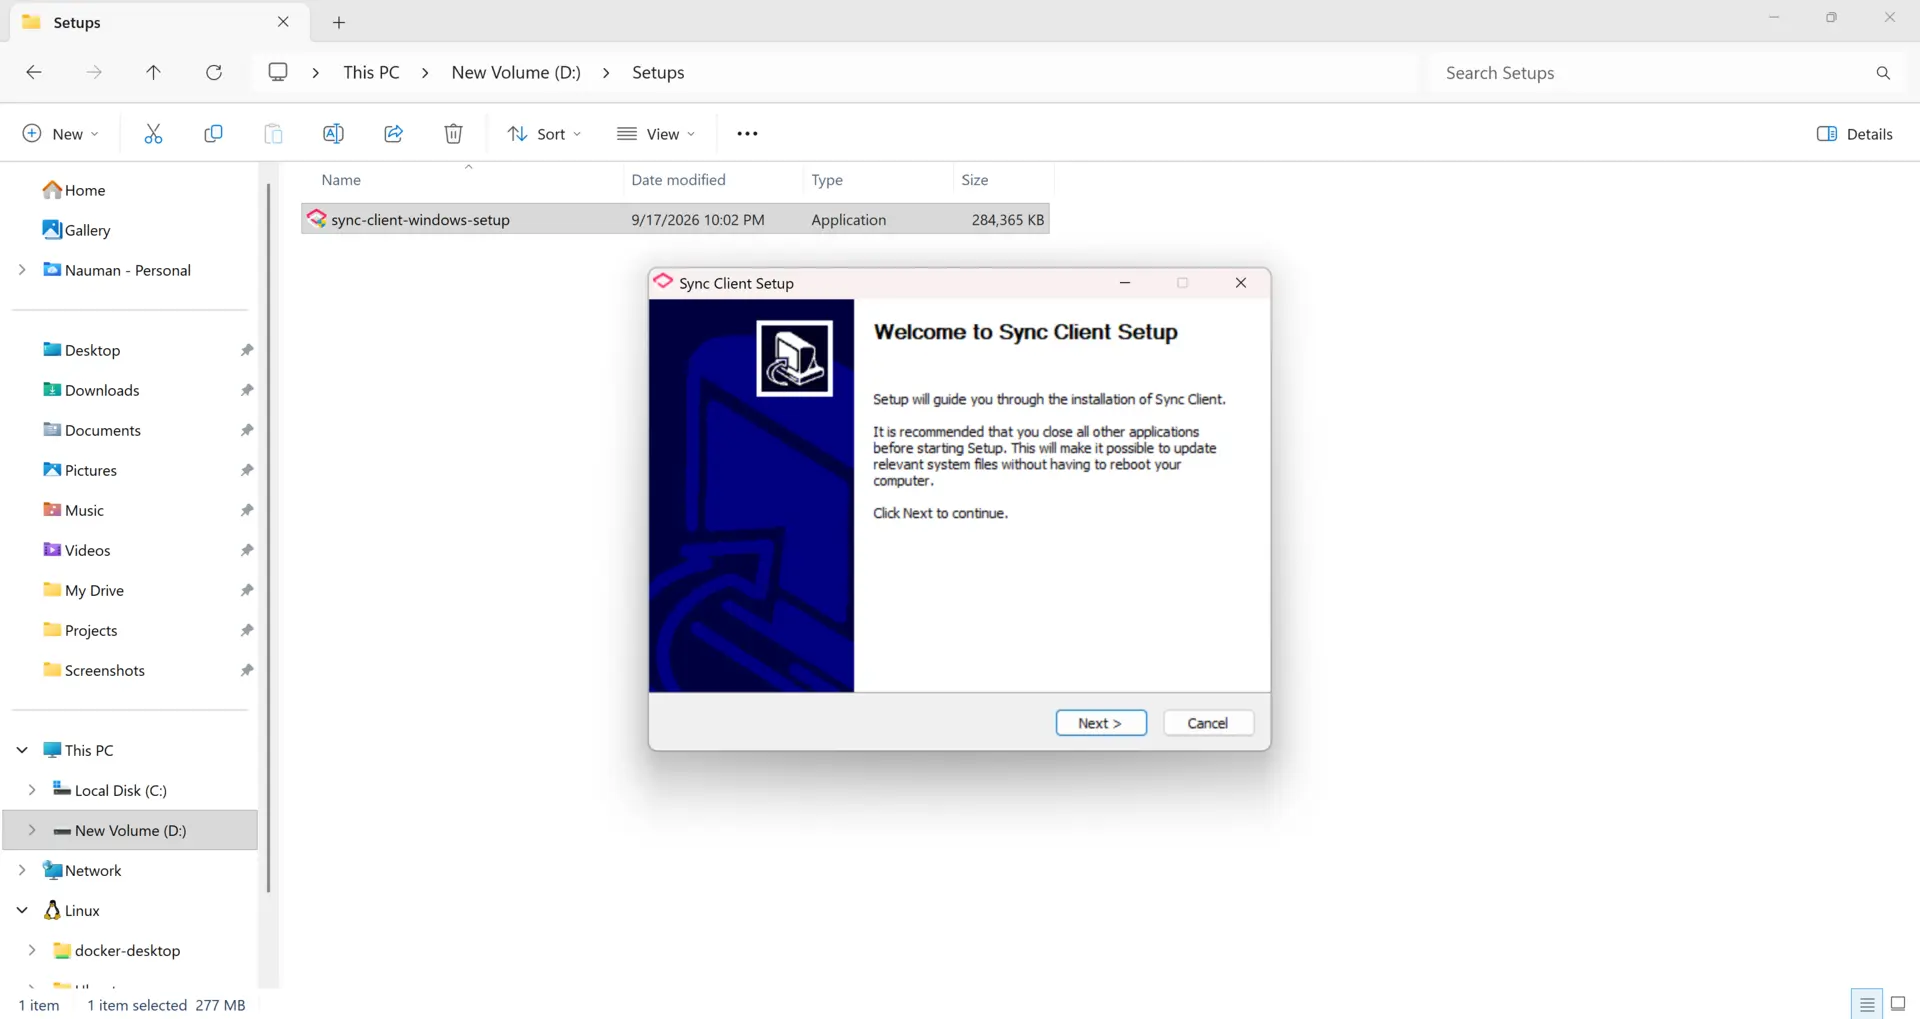
Continue from the welcome screen.
-
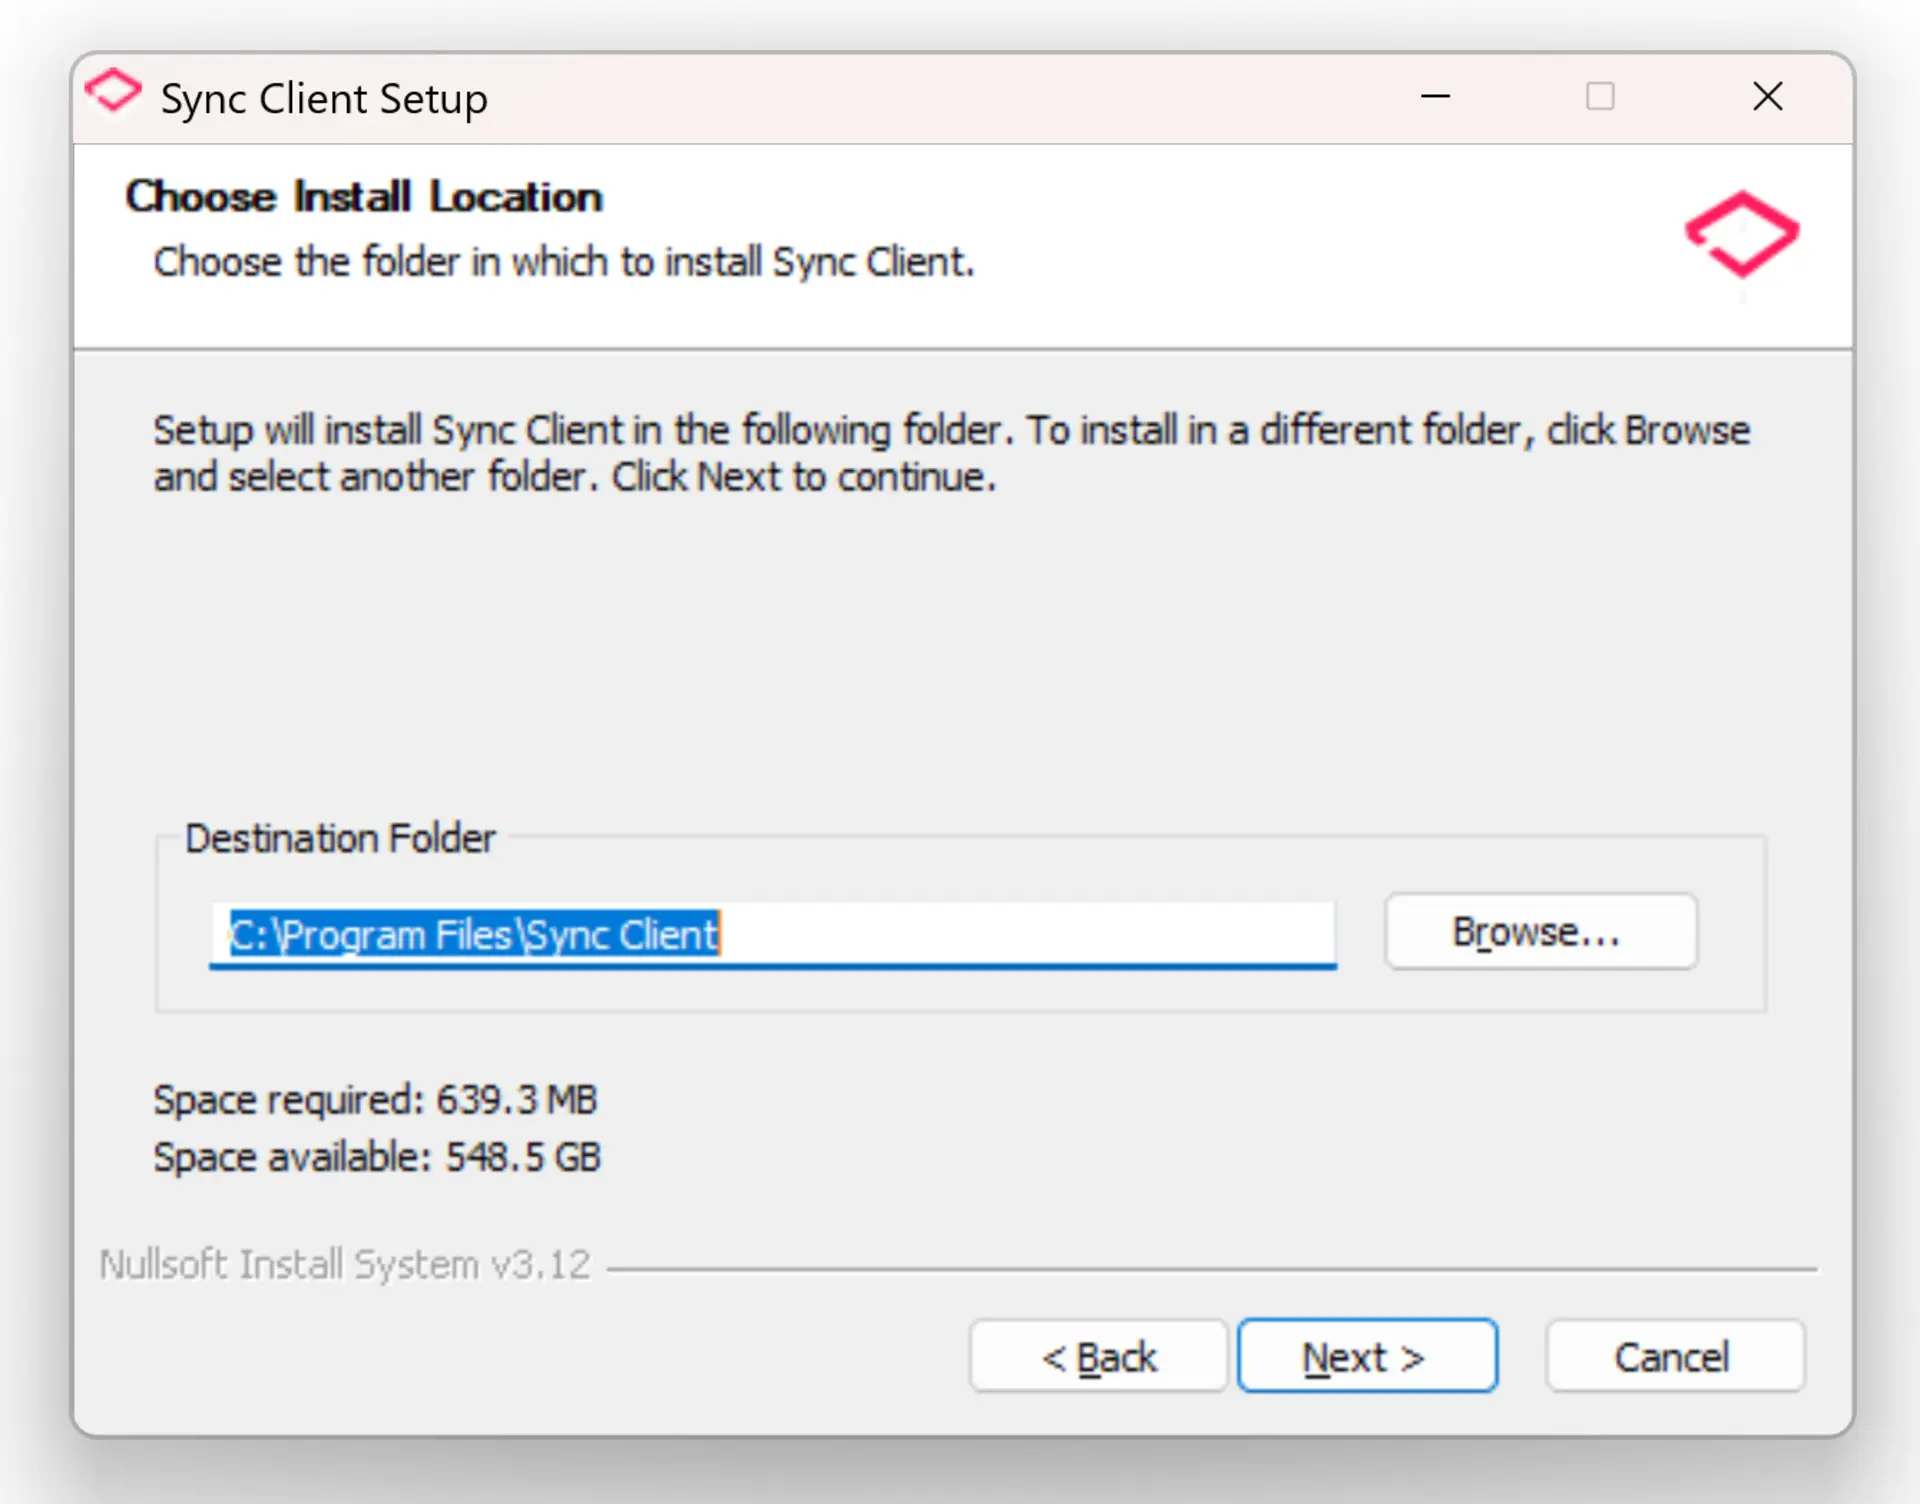
Choose the installation folder. The default location is recommended.
-
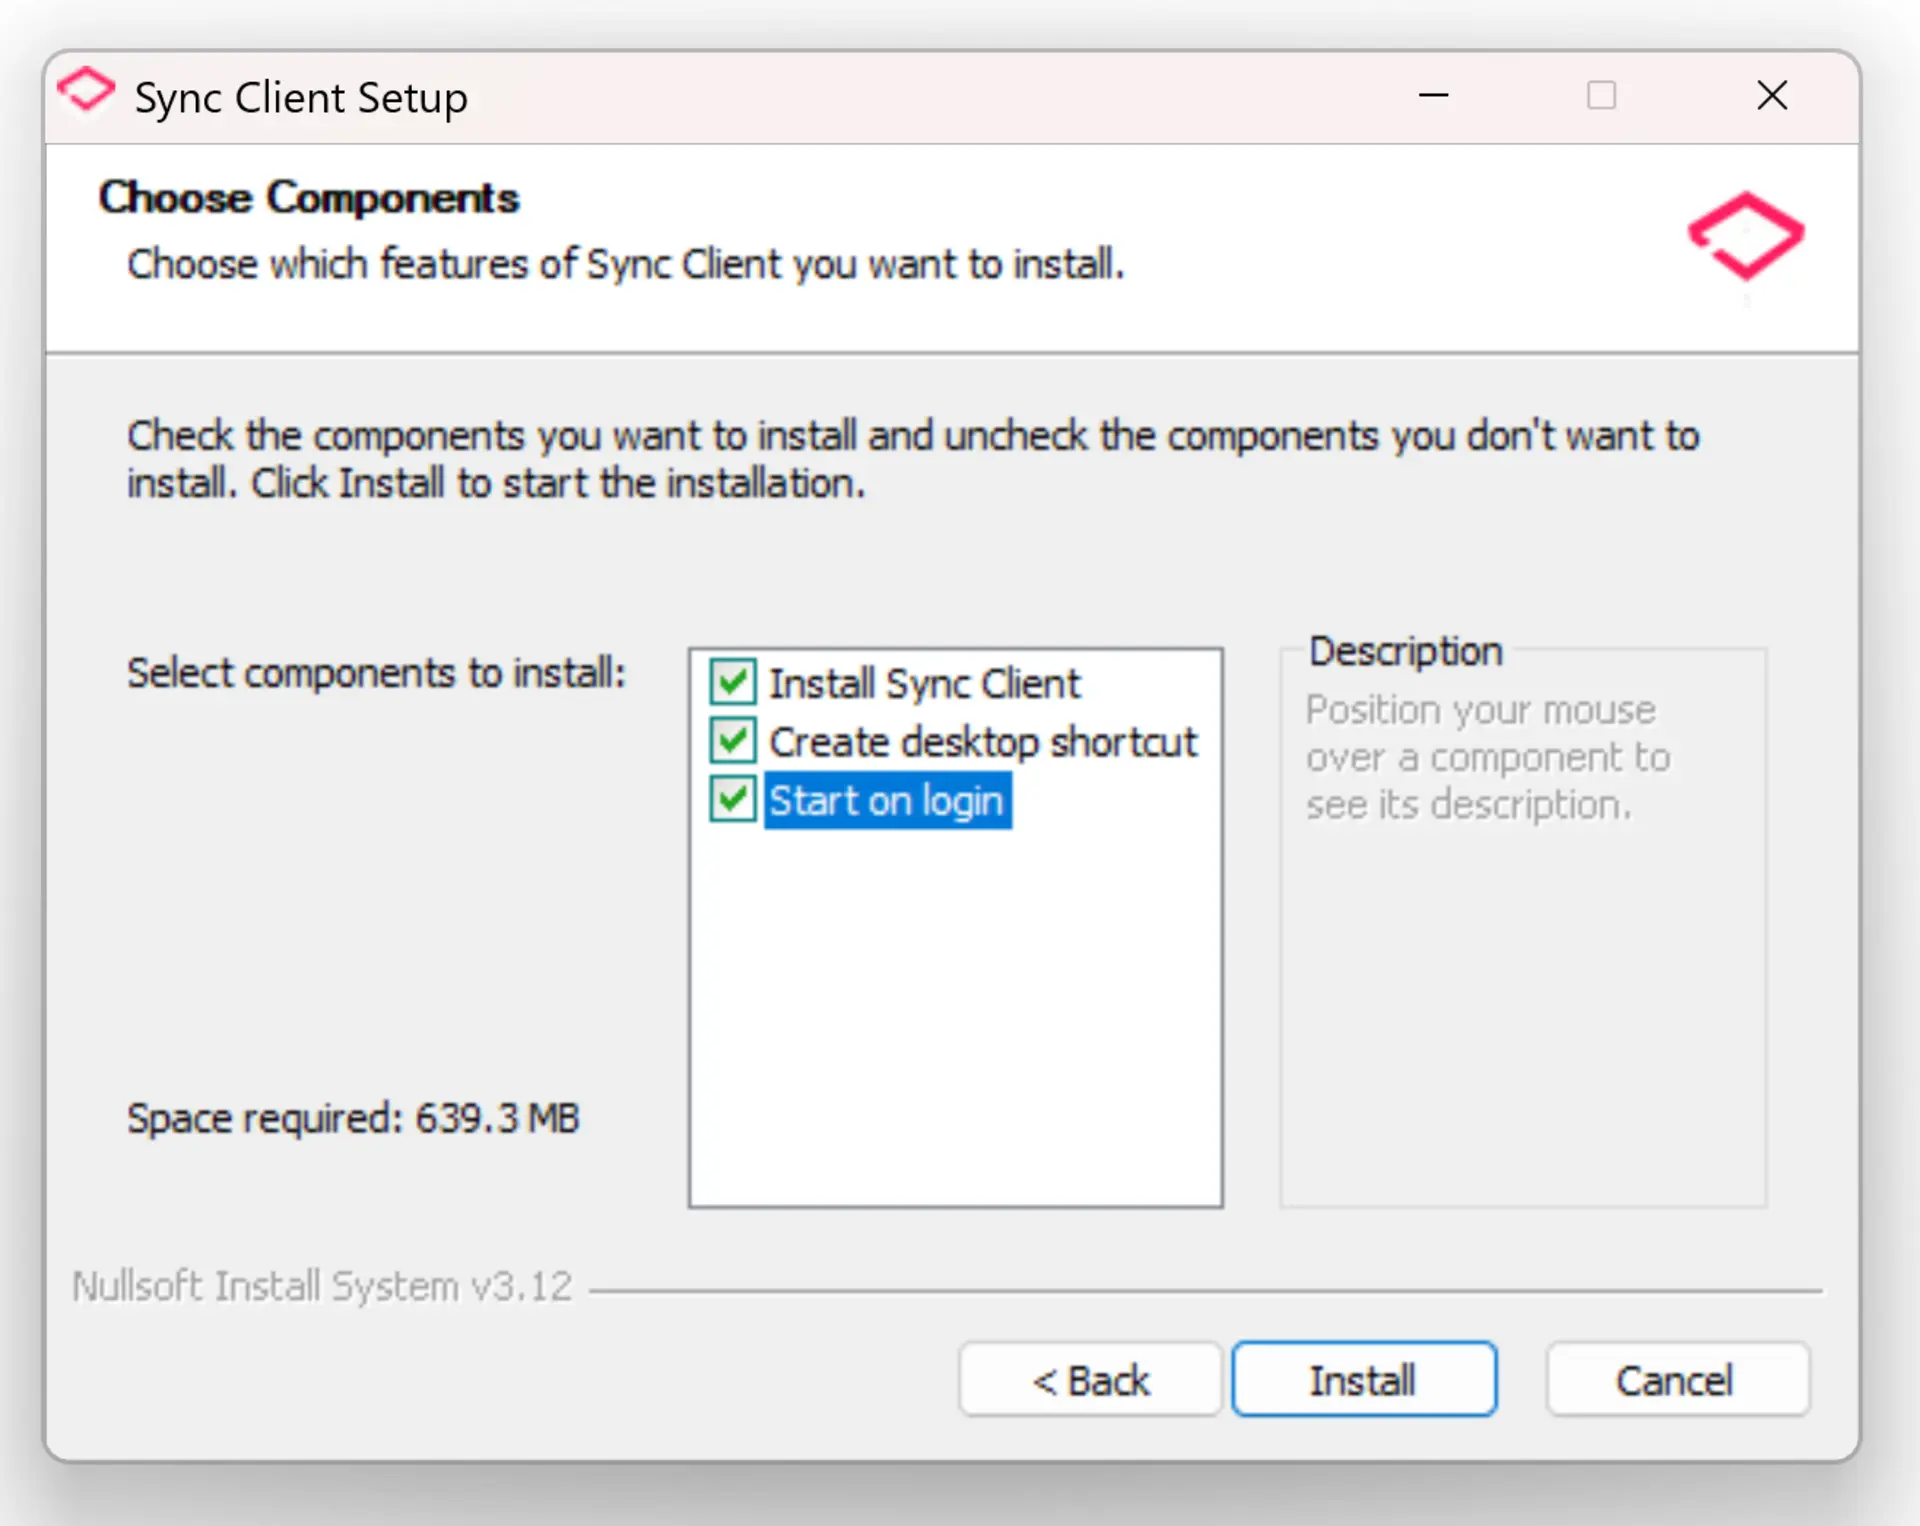
Select the available components, including the desktop shortcut and automatic startup.
-
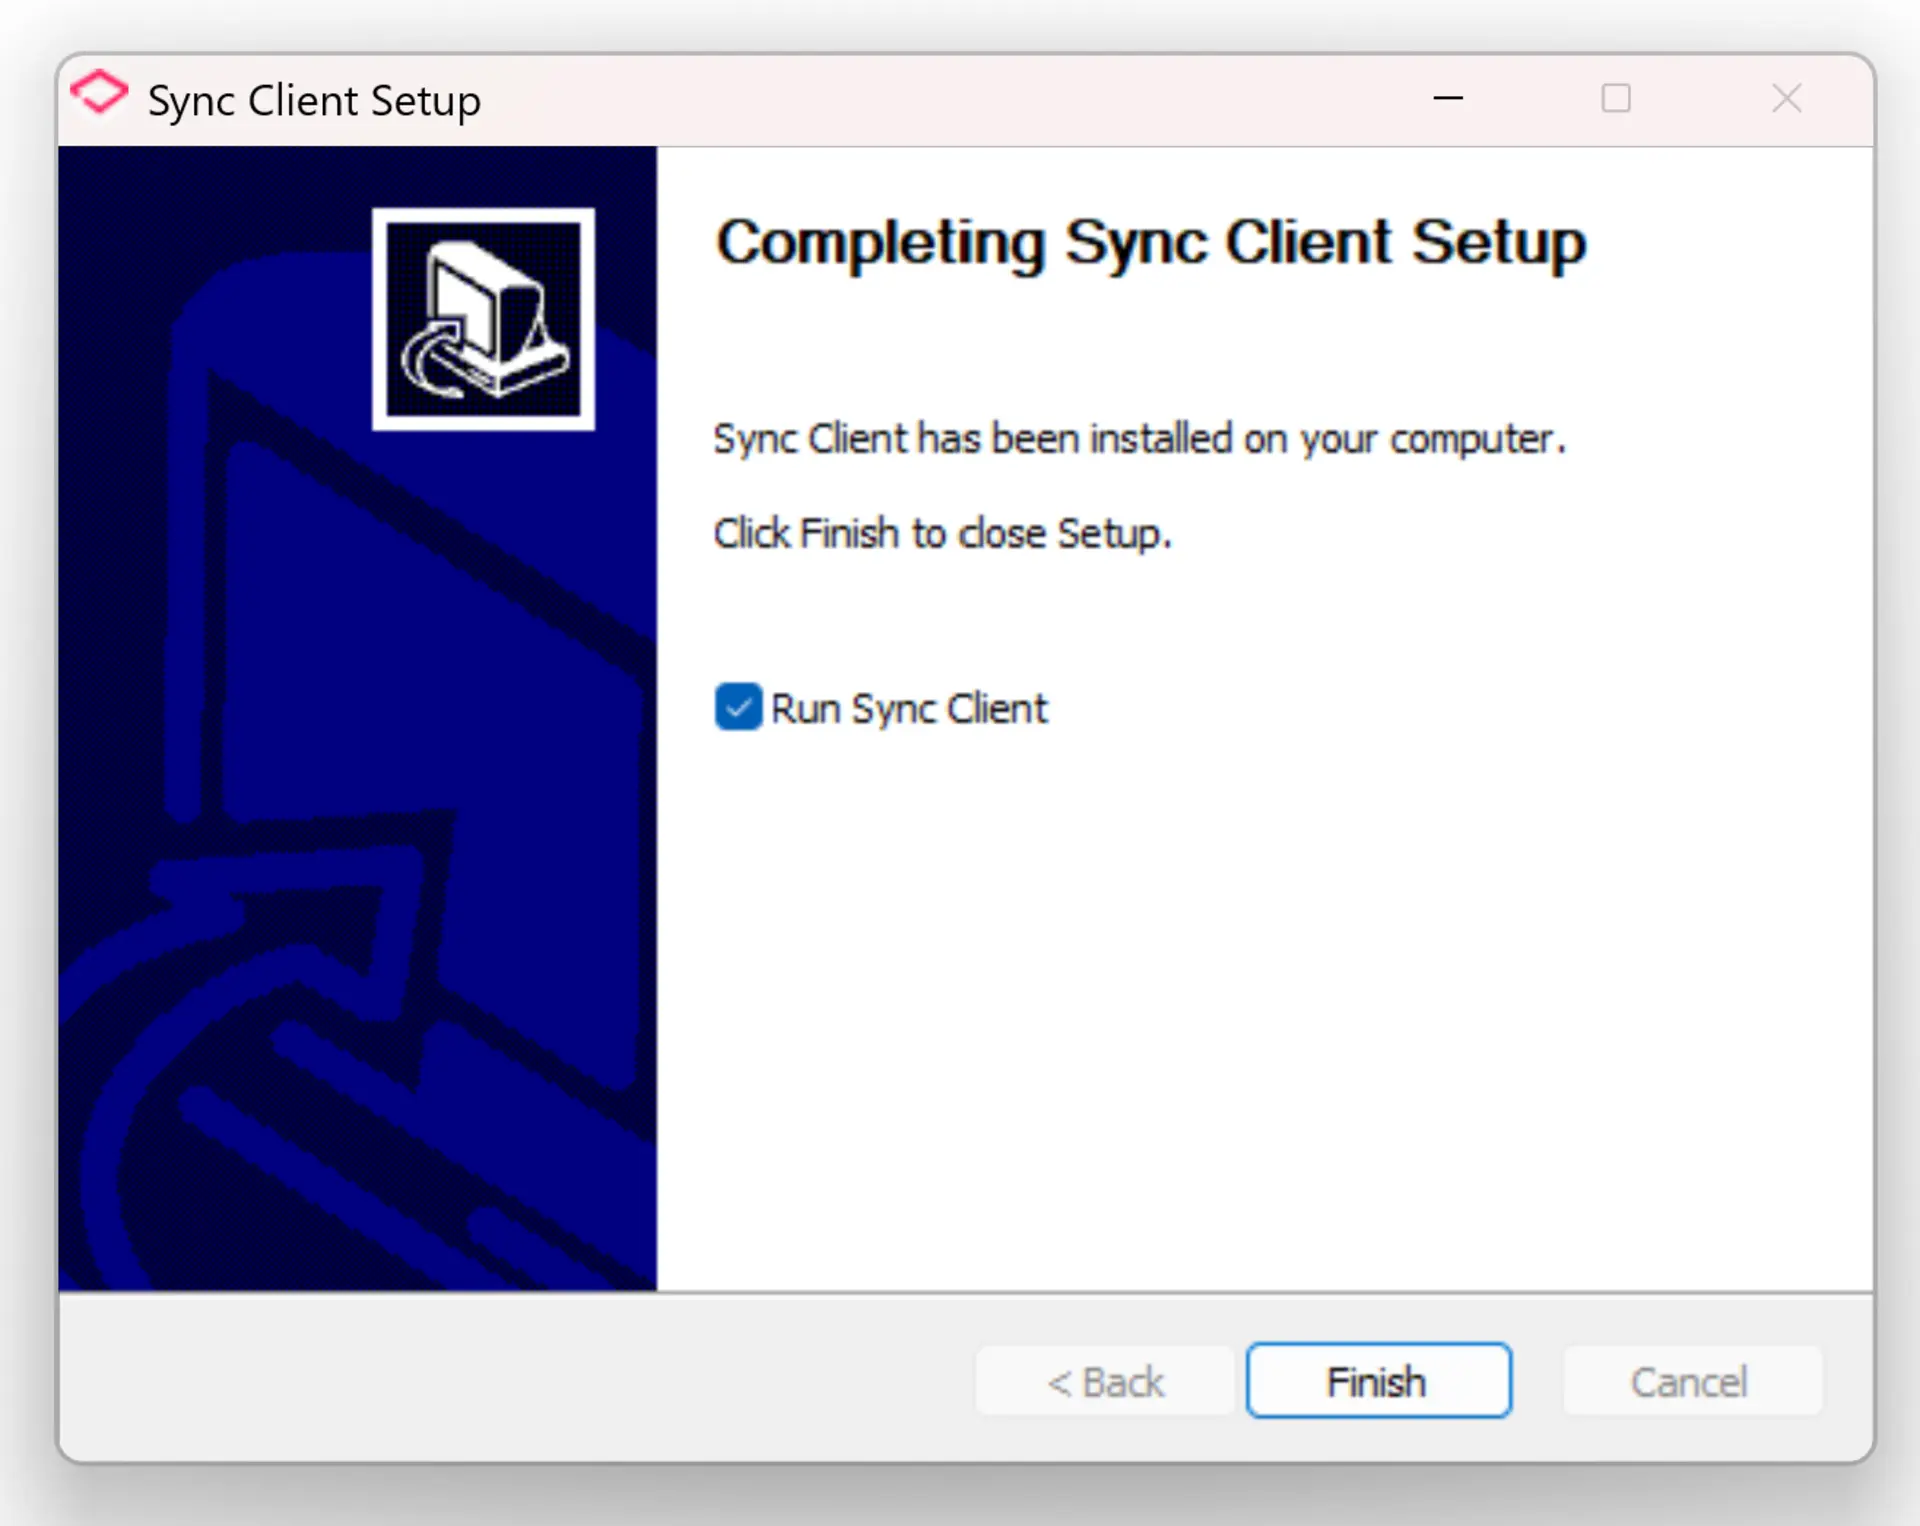
Keep Run Sync Client selected and choose Finish.
Linux
-
Download
sync-client-linux.tar.bz2and extract it:tar -xjvf sync-client-linux.tar.bz2 -
Open a terminal in the extracted directory:
cd sync-client-linux -
Run the installer with administrator privileges:
sudo ./install.sh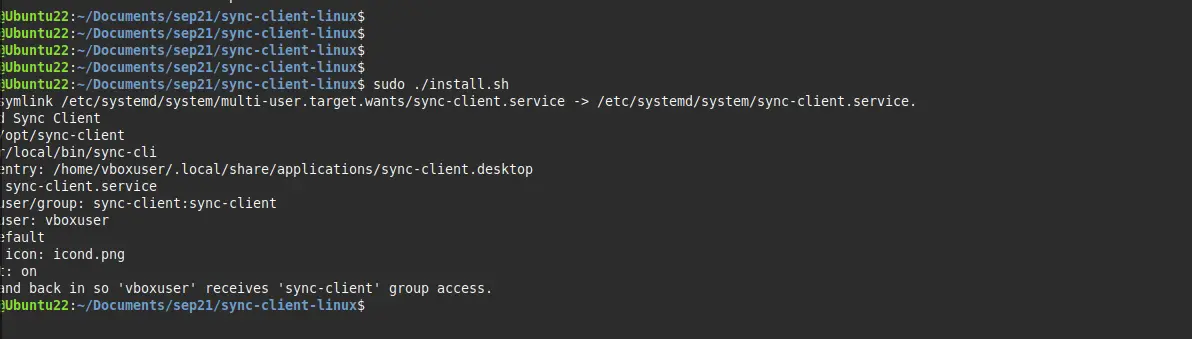
-
Confirm that the terminal reports Installed Sync Client and lists the installed bundle, CLI, desktop entry, service, and service user. Sync Client opens automatically when installation finishes.
-
Log out of the Linux desktop and log in again before using Sync Client. The installer adds your desktop user to the
sync-clientgroup, and the new group membership becomes active in the new login session. -
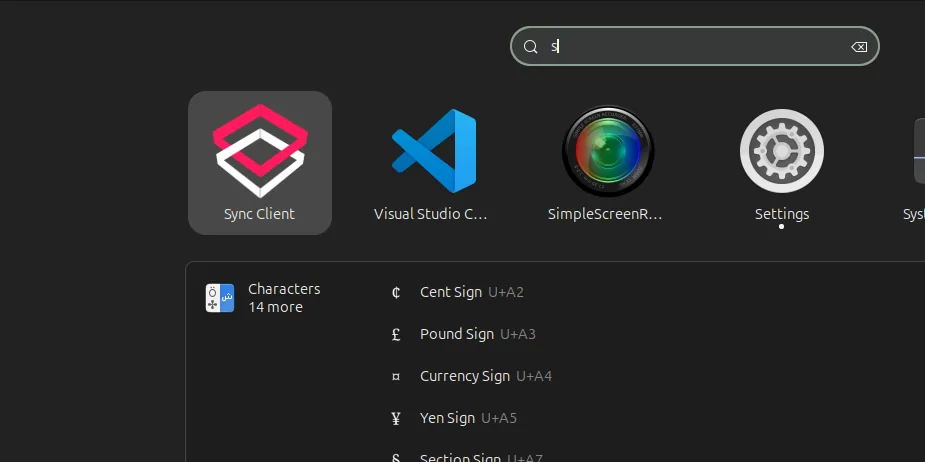
After logging in again, Sync Client can be opened from the application launcher or from its system tray icon if it is not already running.
First-time configuration
The first-time setup moves automatically through:
Login → Storage → Filters / Policy
The screenshots below show the Windows build, but the same settings and controls are available on Linux.
Sign in
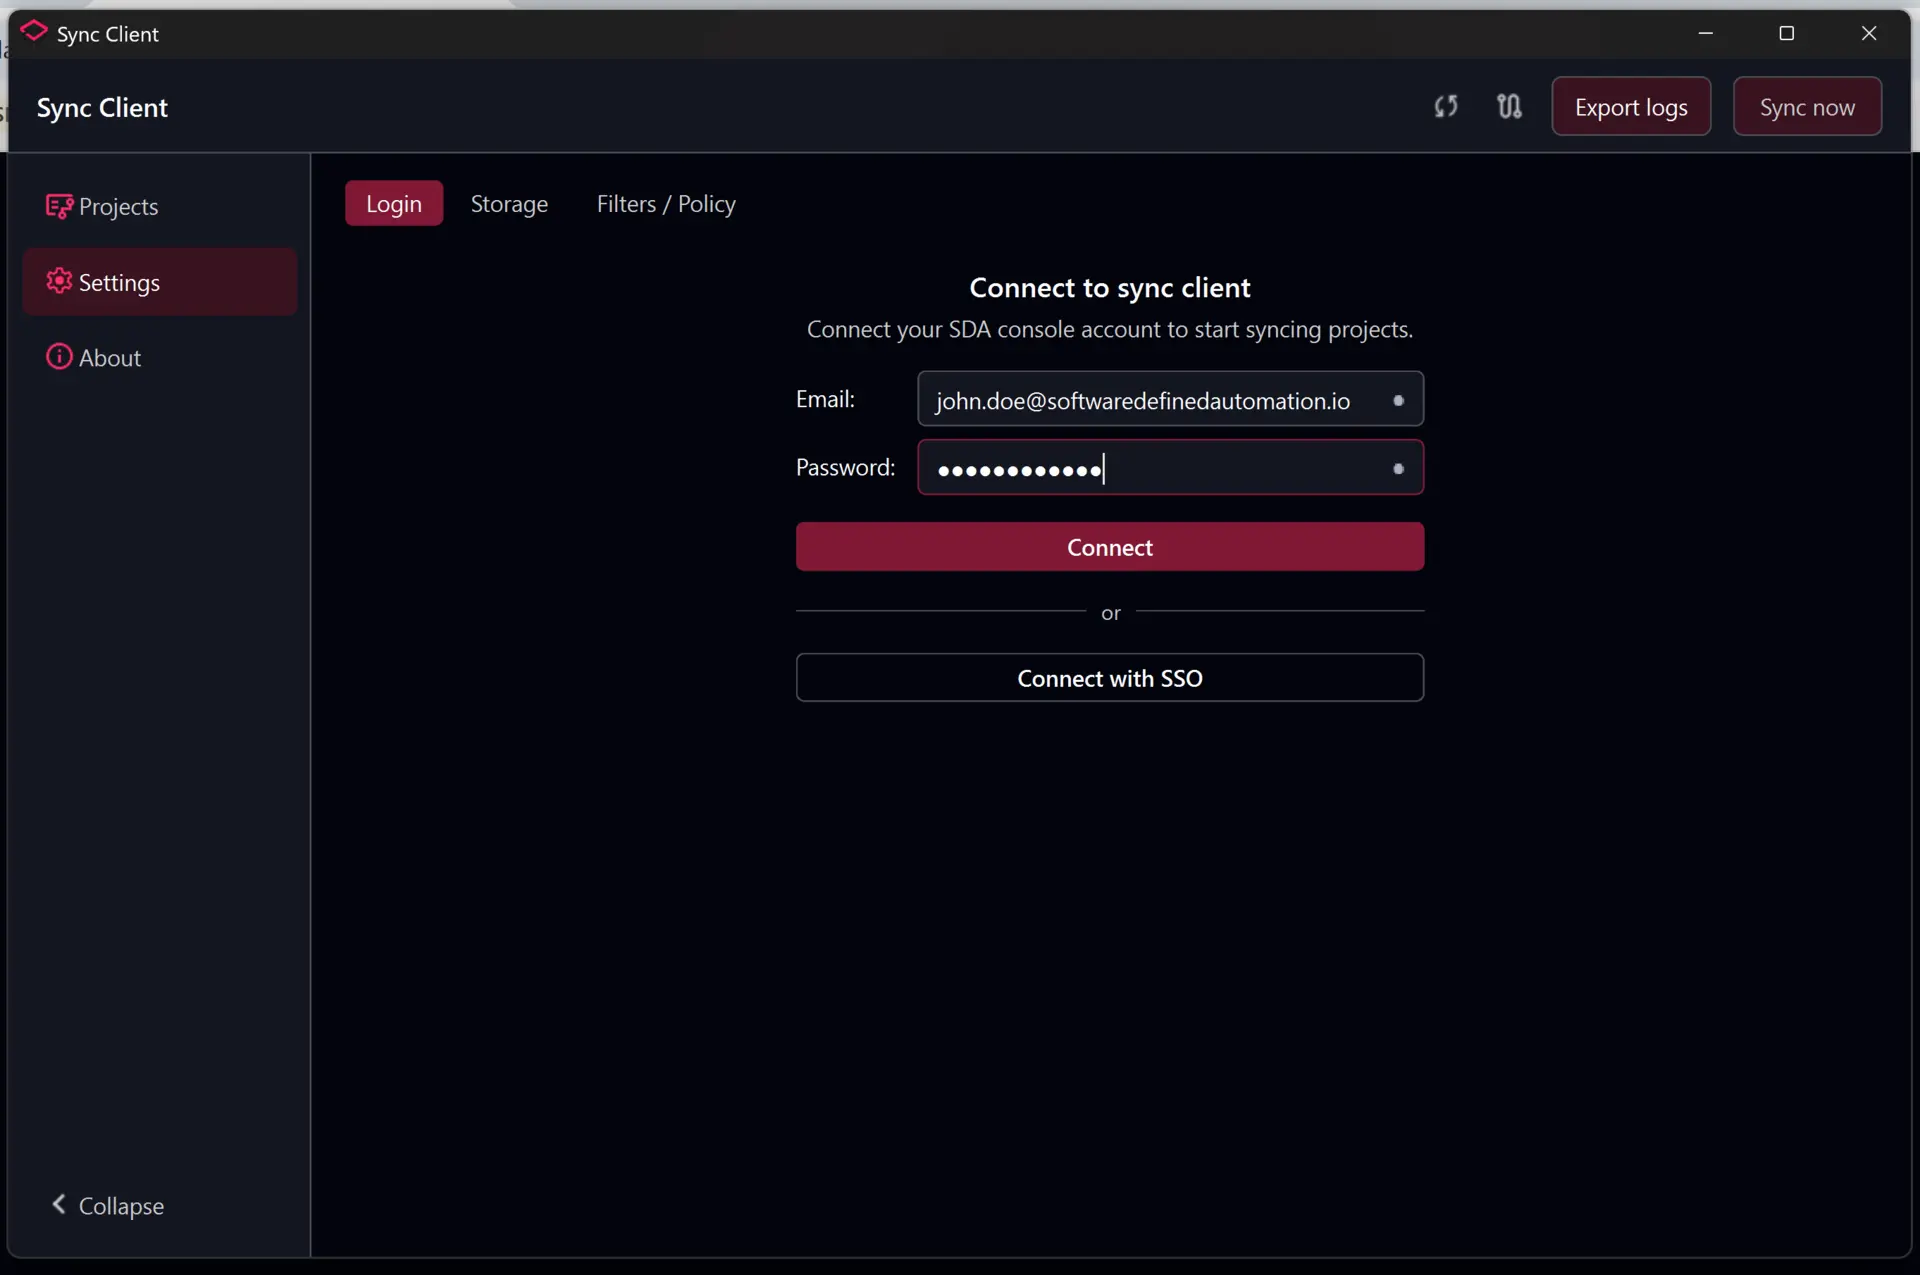
Enter your SDA Console email address and password, confirm the API URL, and select Connect.
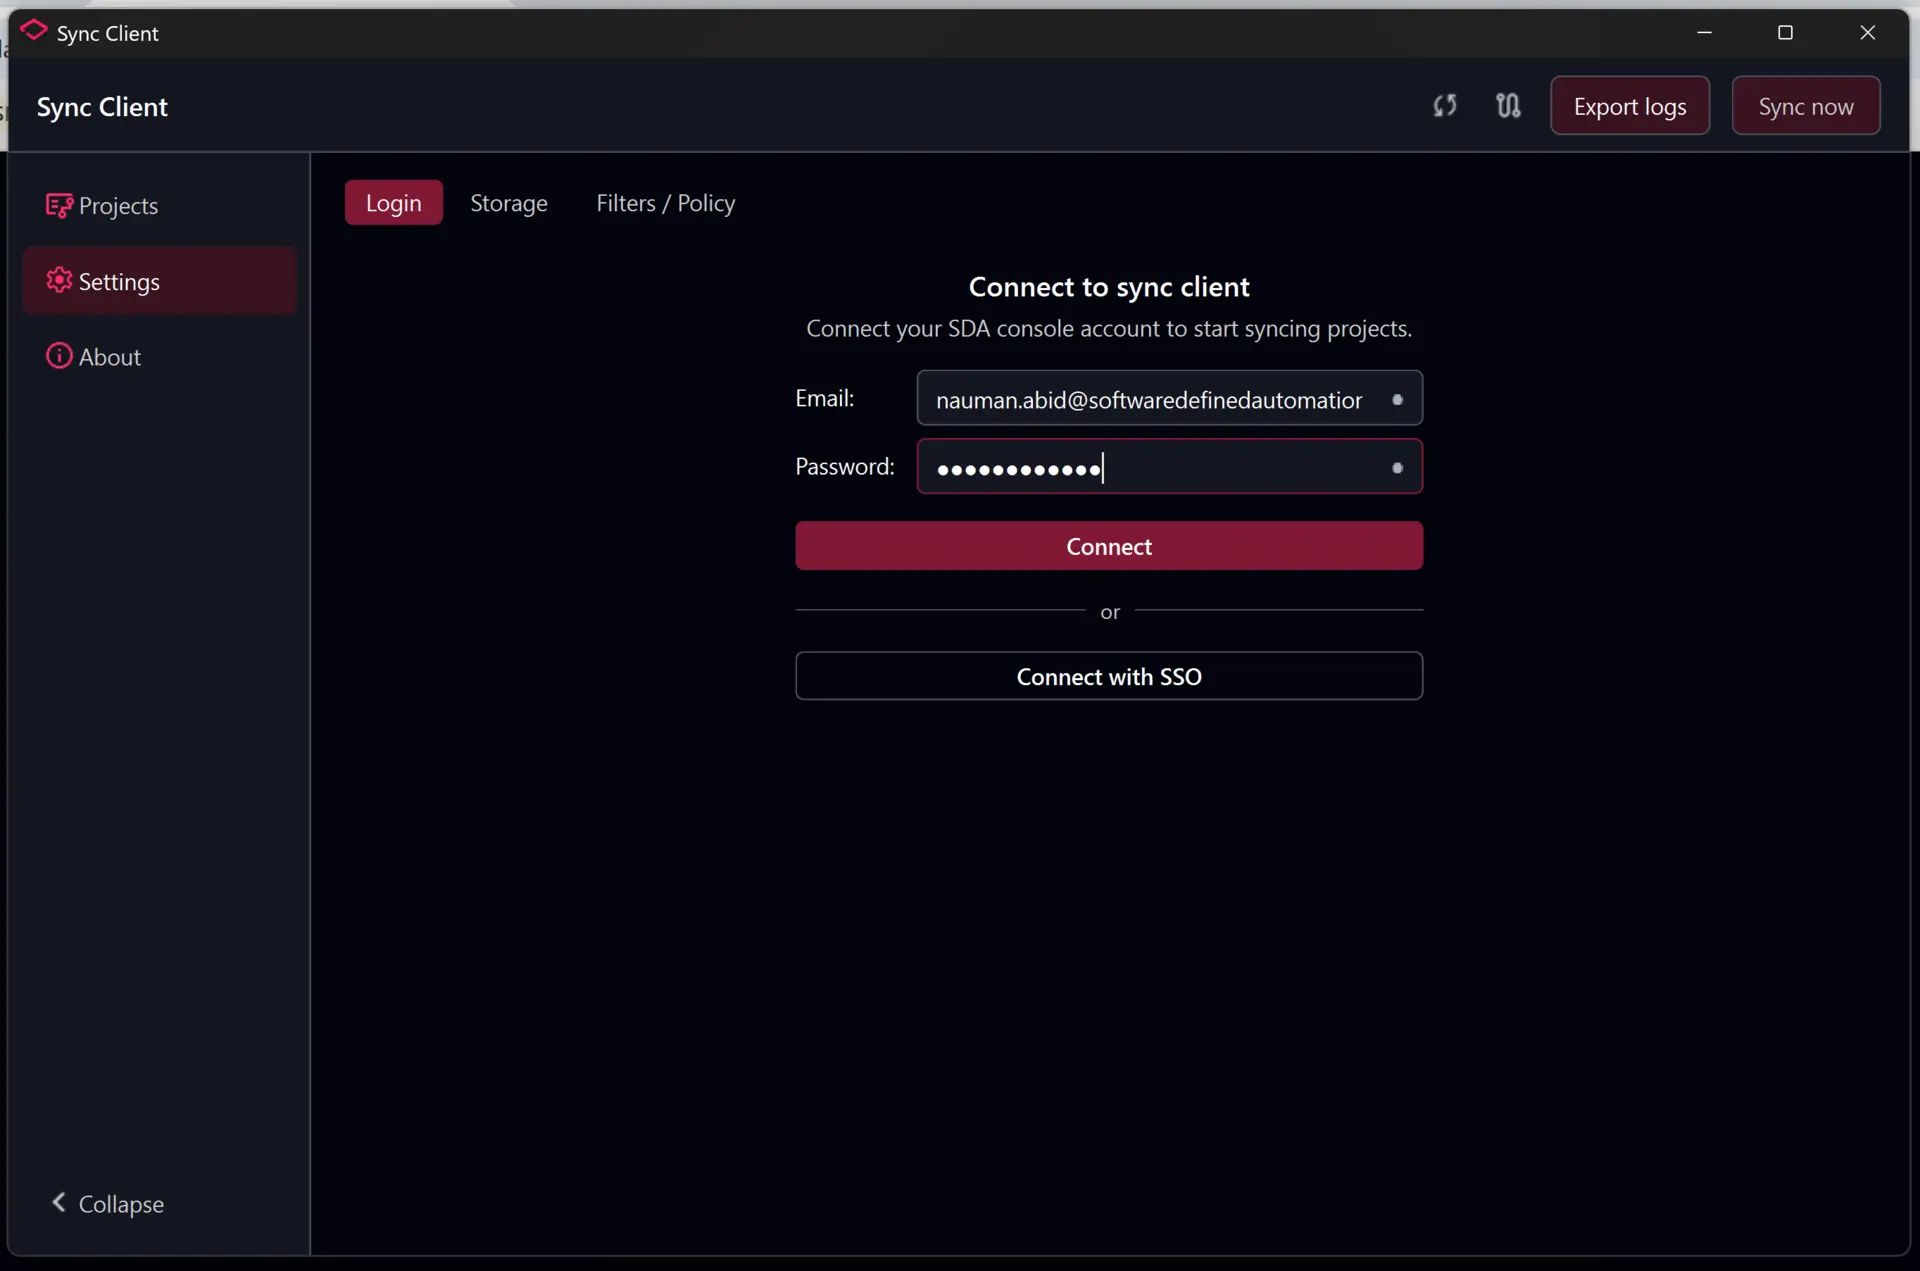
The icons beside the fields show whether the individual values were verified. After a successful connection, Sync Client automatically opens the Storage step.
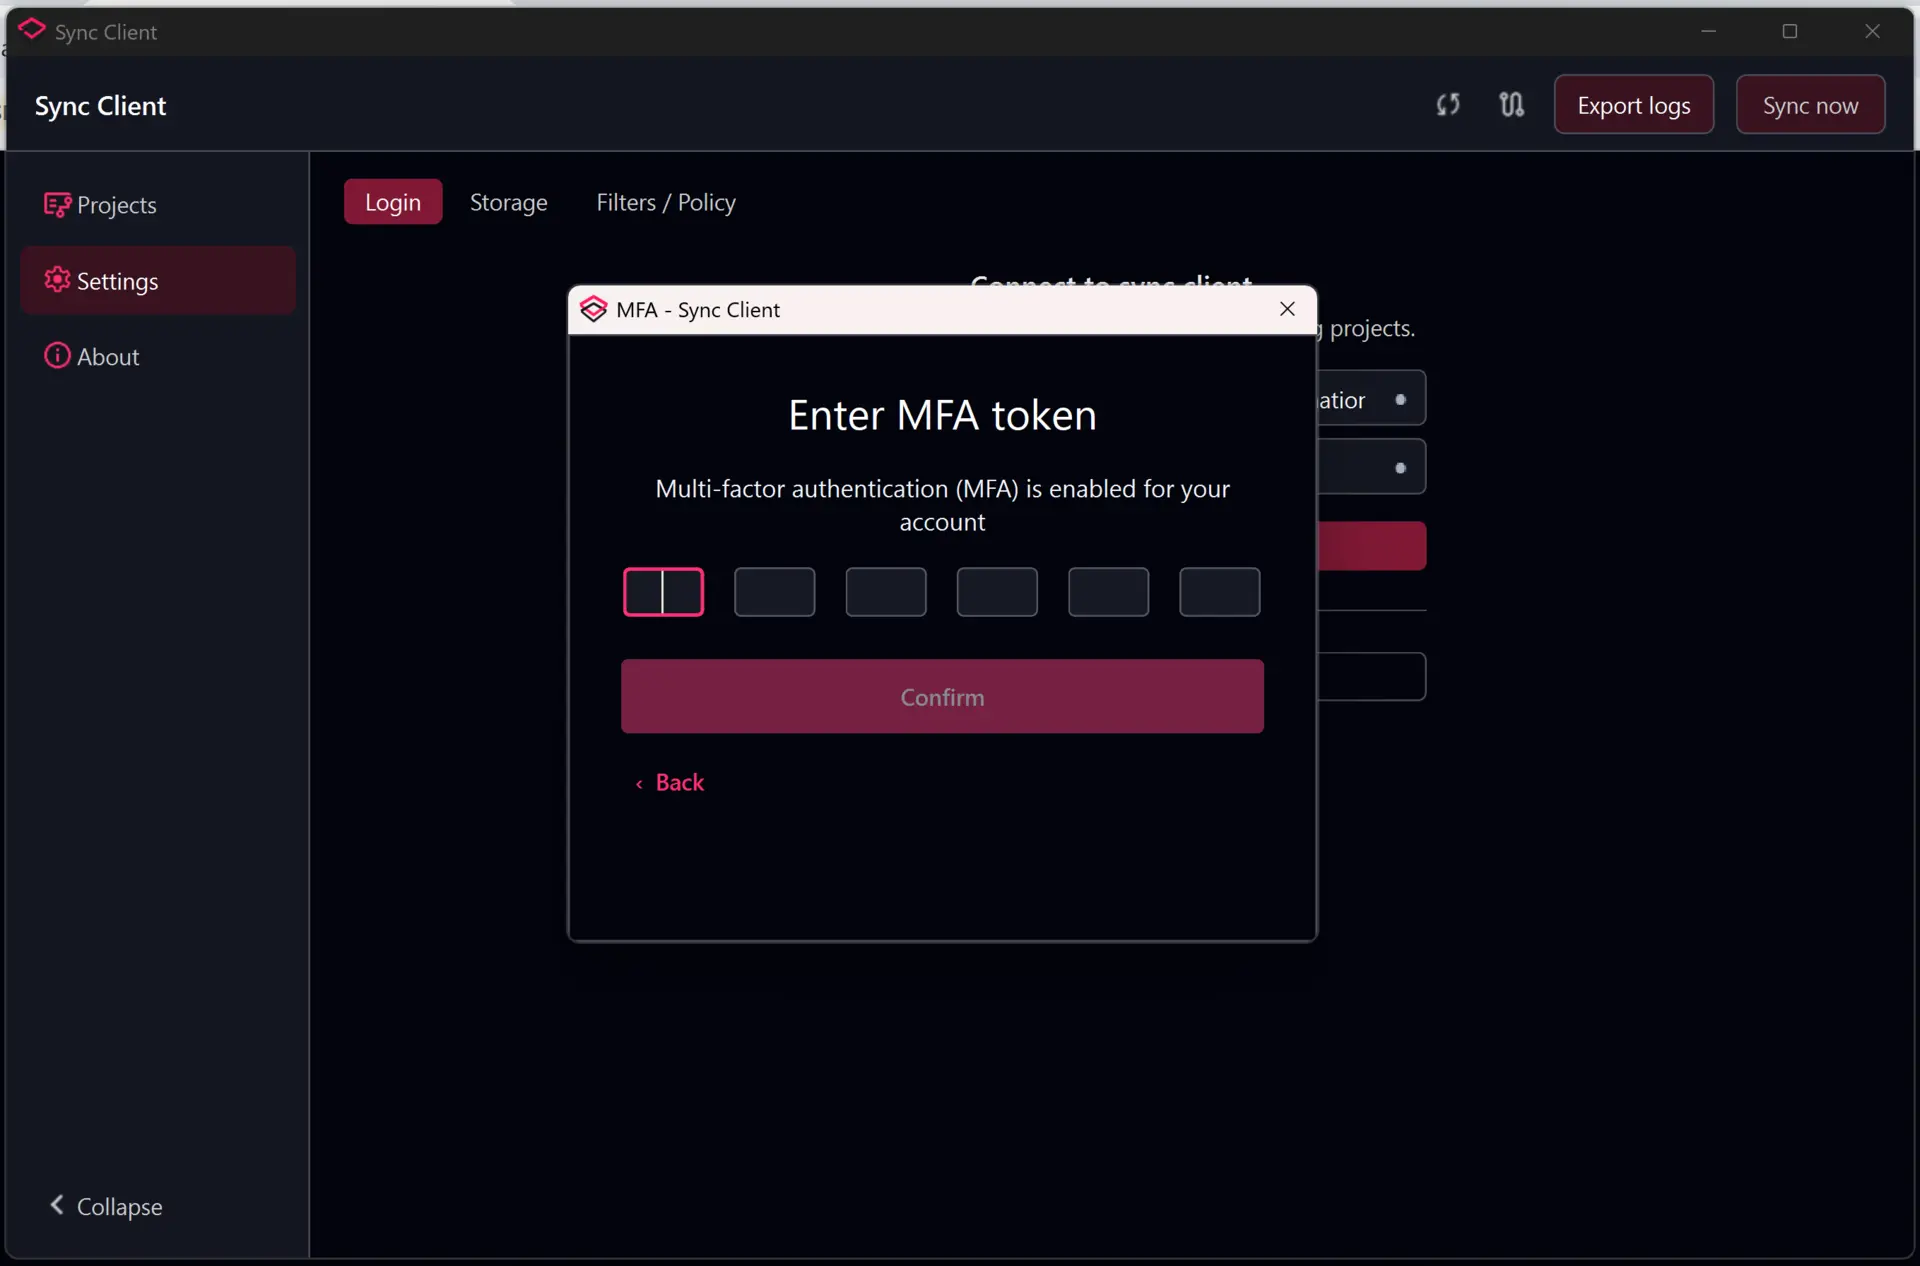
Multi-factor authentication
If multi-factor authentication is enabled for the account, enter the six-digit token from the authenticator application and select Confirm.
Choose storage
Sync Client can store synchronized projects in a local folder or on an SMB network share.
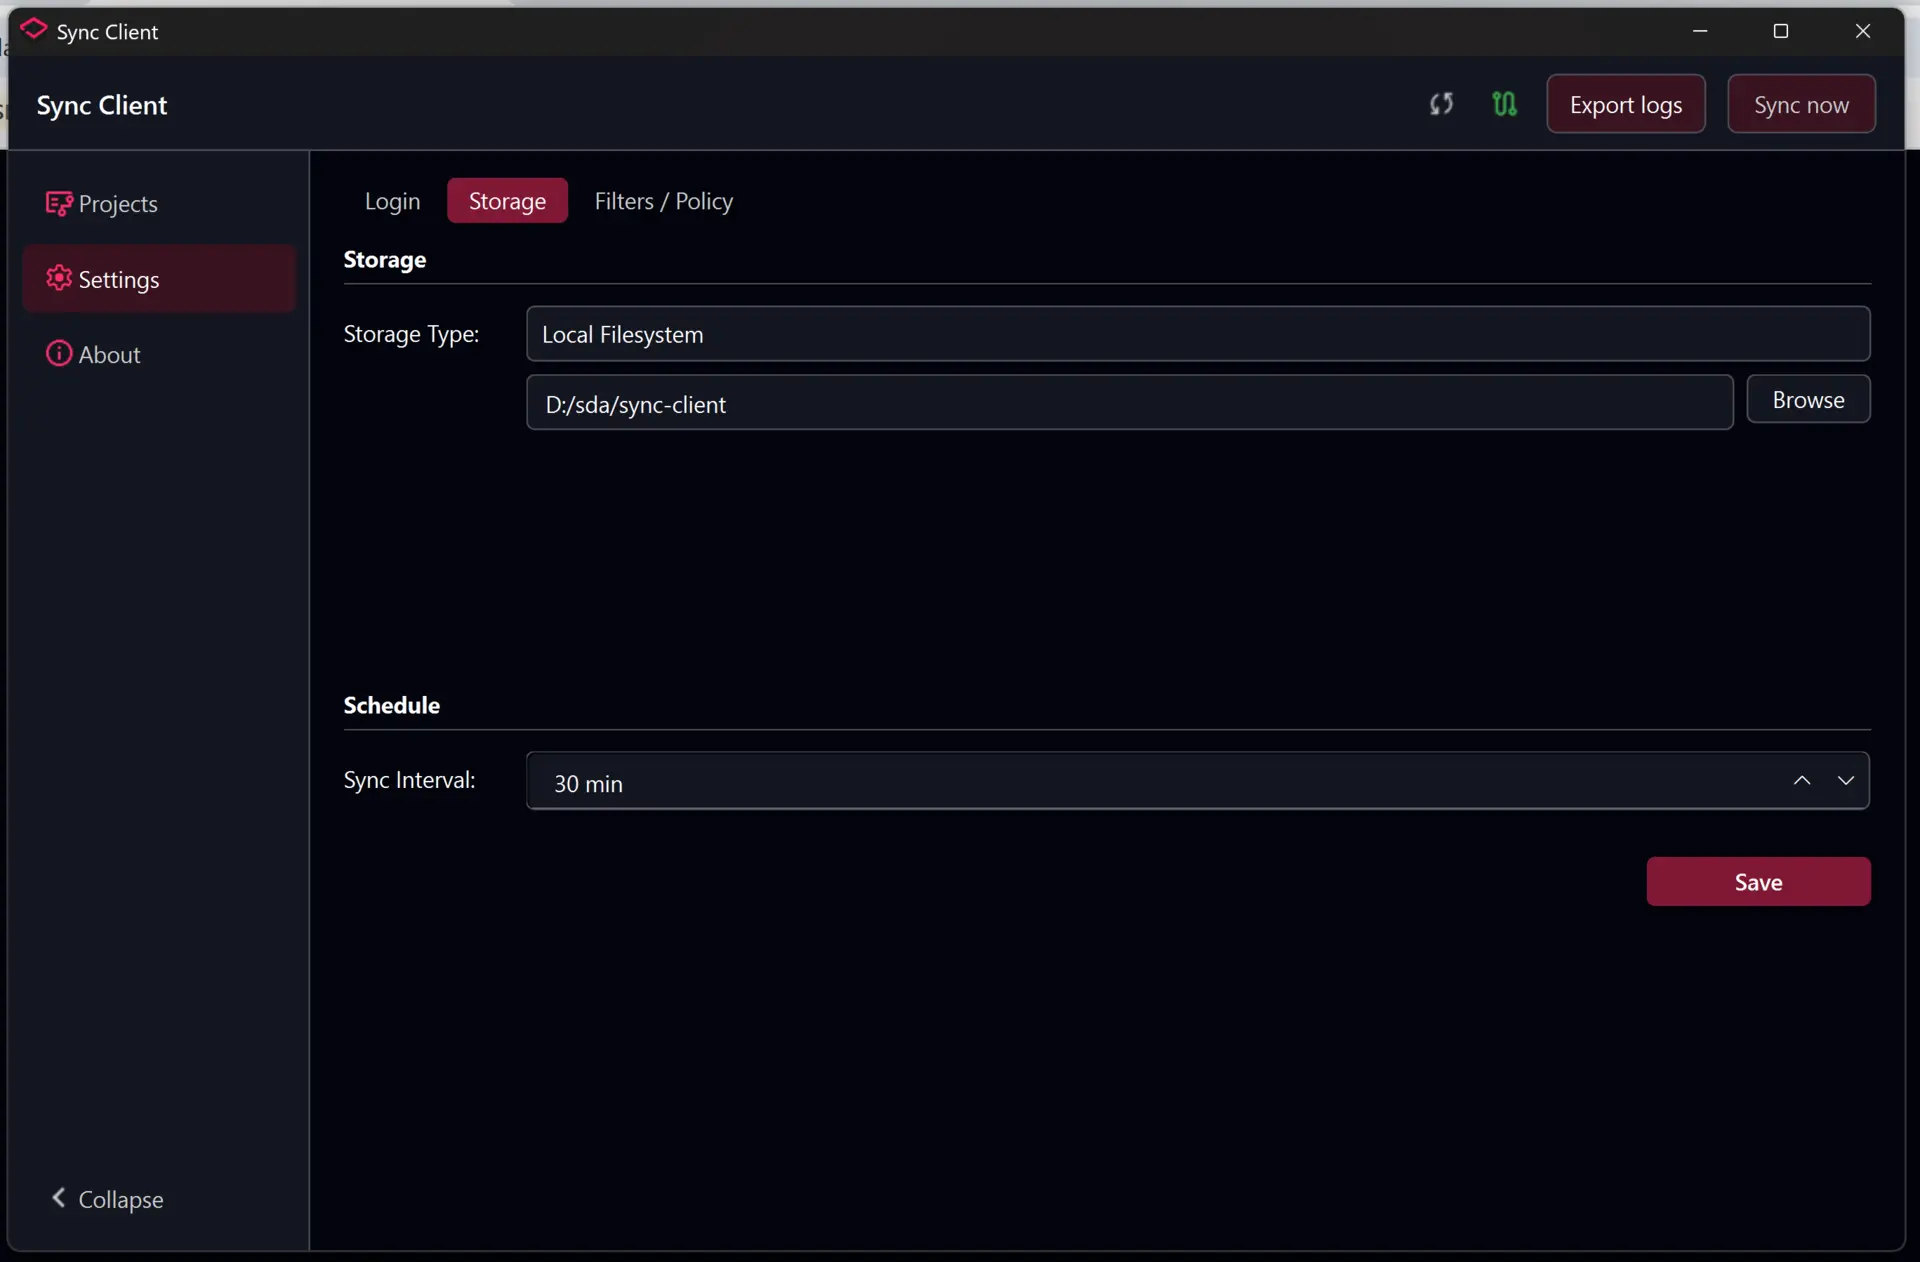
Local filesystem
Select Local Filesystem, choose Browse, select the project folder, set the synchronization interval, and select Save.
SMB network storage
Select Network Location and provide:
- UNC Path: the network share and optional subfolder, such as
\\fileserver\engineering - Domain: the Windows domain or workgroup, when required
- SMB Username and SMB Password: an account with read and write access
- Sync Interval: how frequently Sync Client checks for project updates
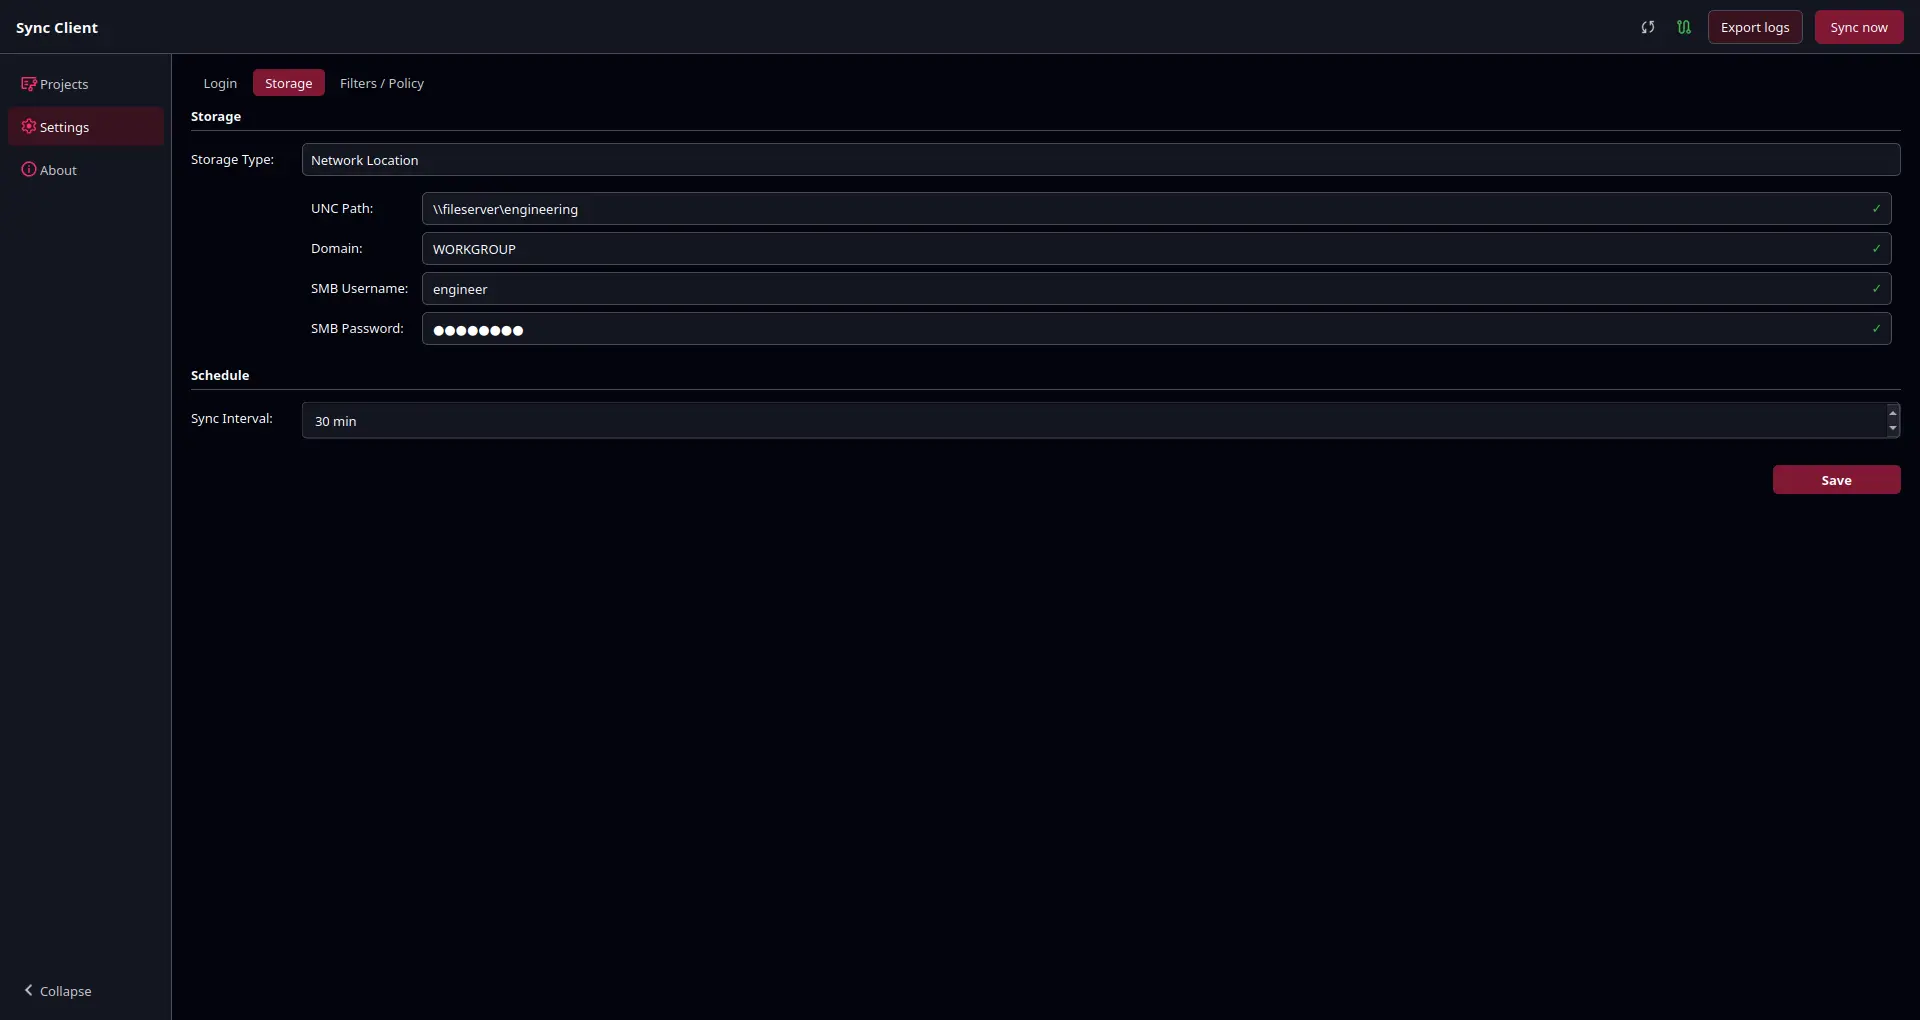
Select Save to verify and apply the settings. After the storage configuration is saved, Sync Client automatically opens Filters / Policy.
Select projects and versions
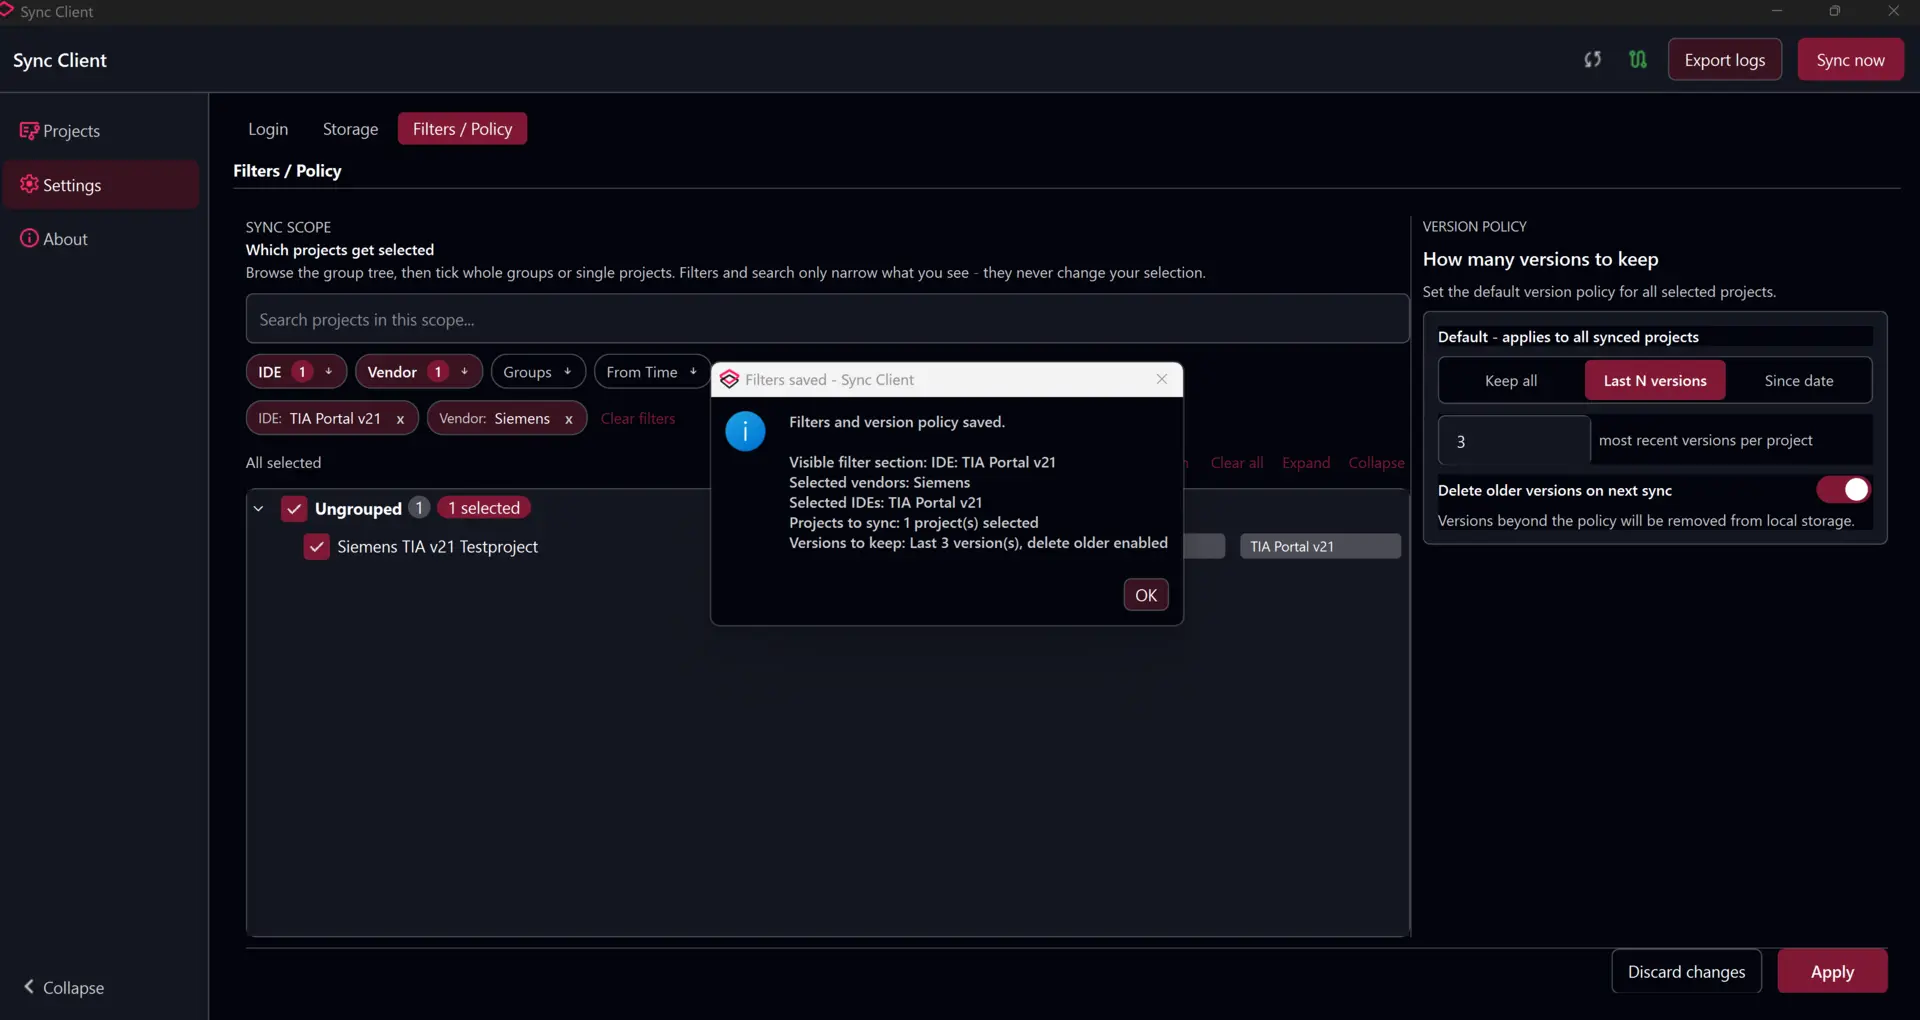
Use Filters / Policy to choose which projects should be synchronized and how many versions should remain available locally.
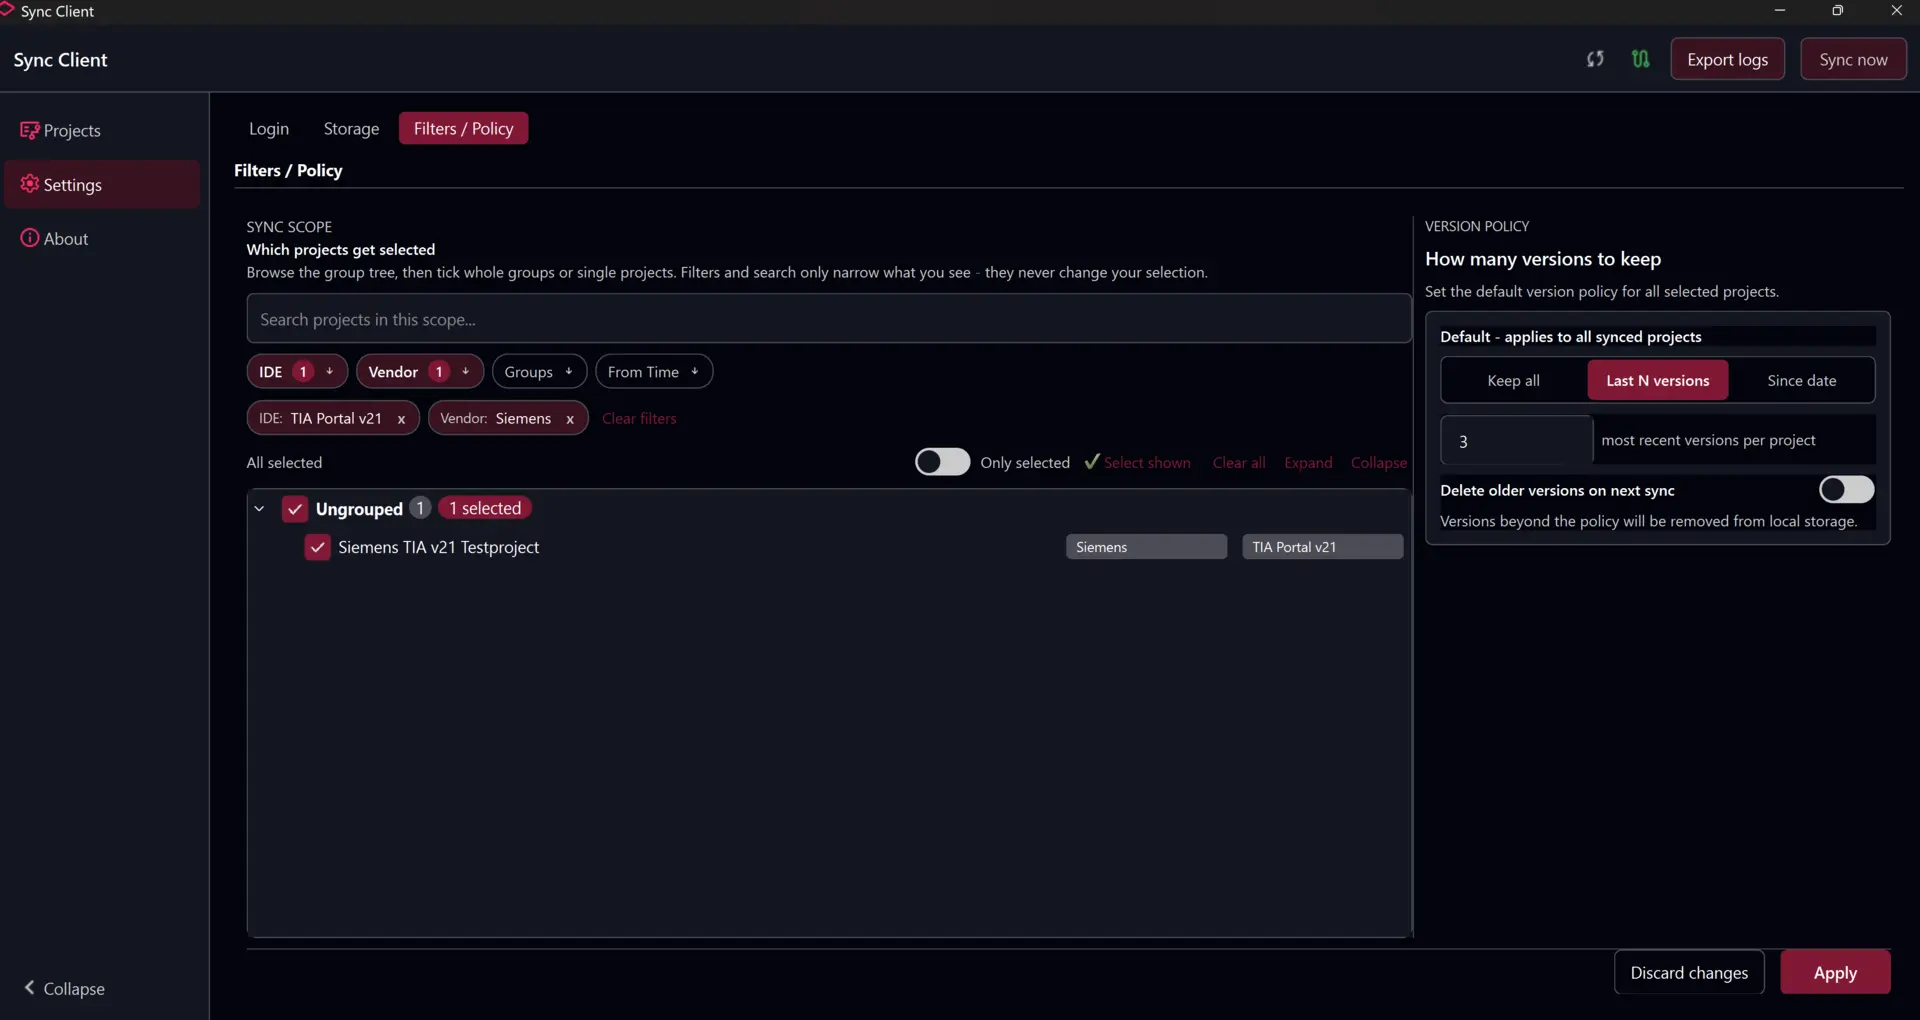
- Use IDE, Vendor, Groups, and Time Range to narrow the project list.
- Search the project tree by name.
- Expand groups and select complete groups or individual projects.
- Remove an active filter by selecting its pill.
Under Version policy, choose Last N versions to retain a fixed number of recent versions.
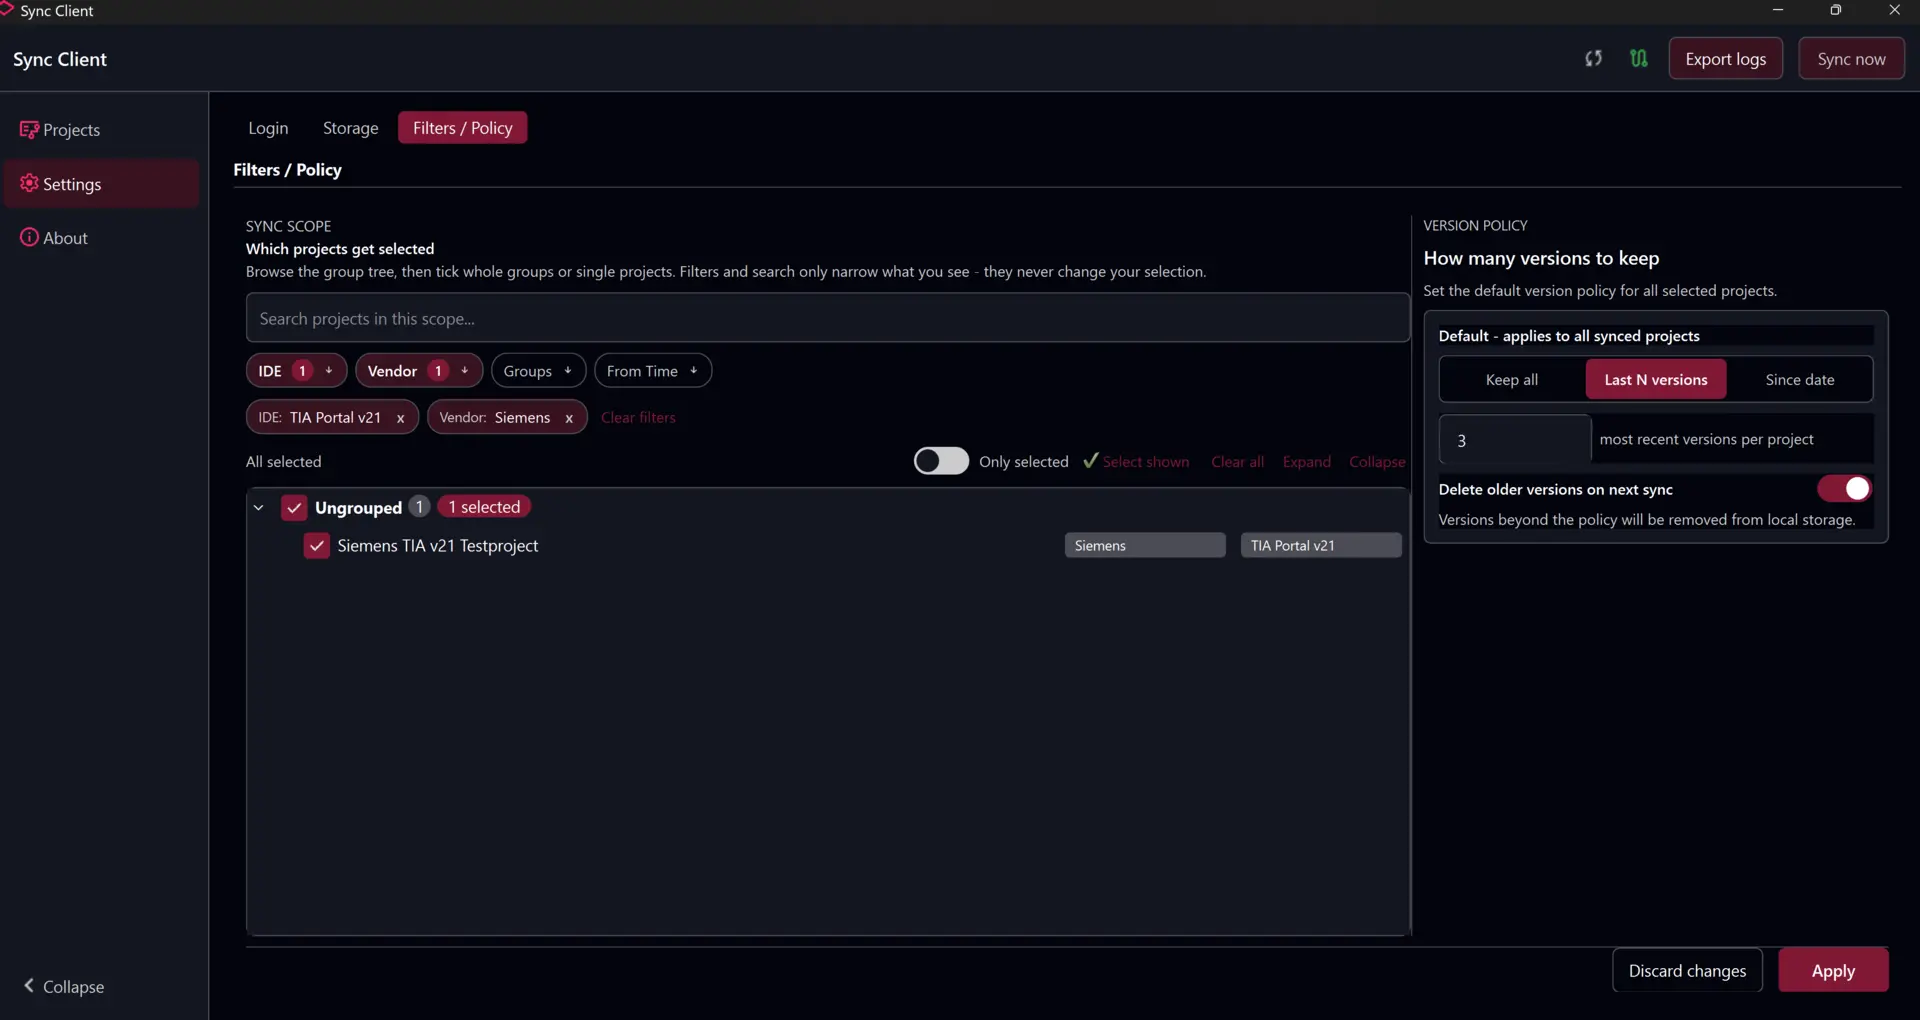
Alternatively, choose Since date to retain versions created after a selected date.
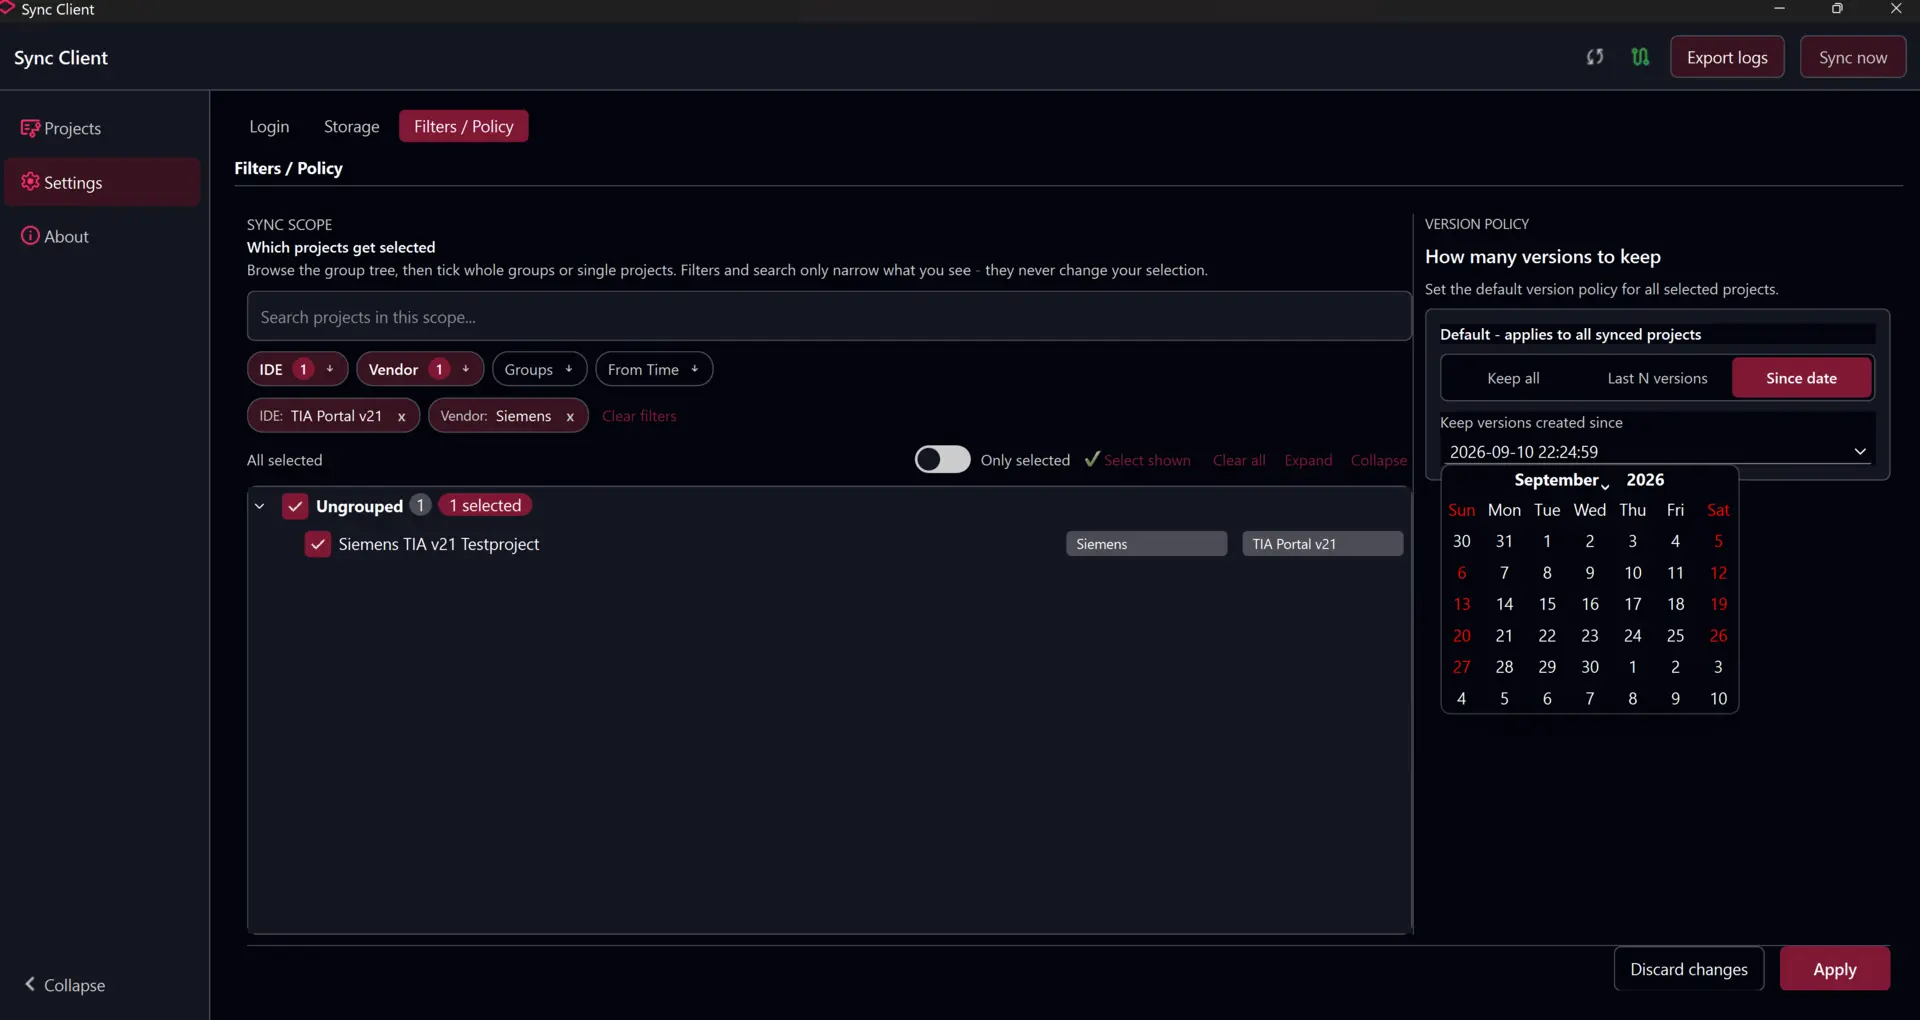
Select Apply and review the confirmation, which summarizes the active filters, selected projects, retention rule, and whether older local versions will be deleted.
Work with projects
Find and synchronize a project
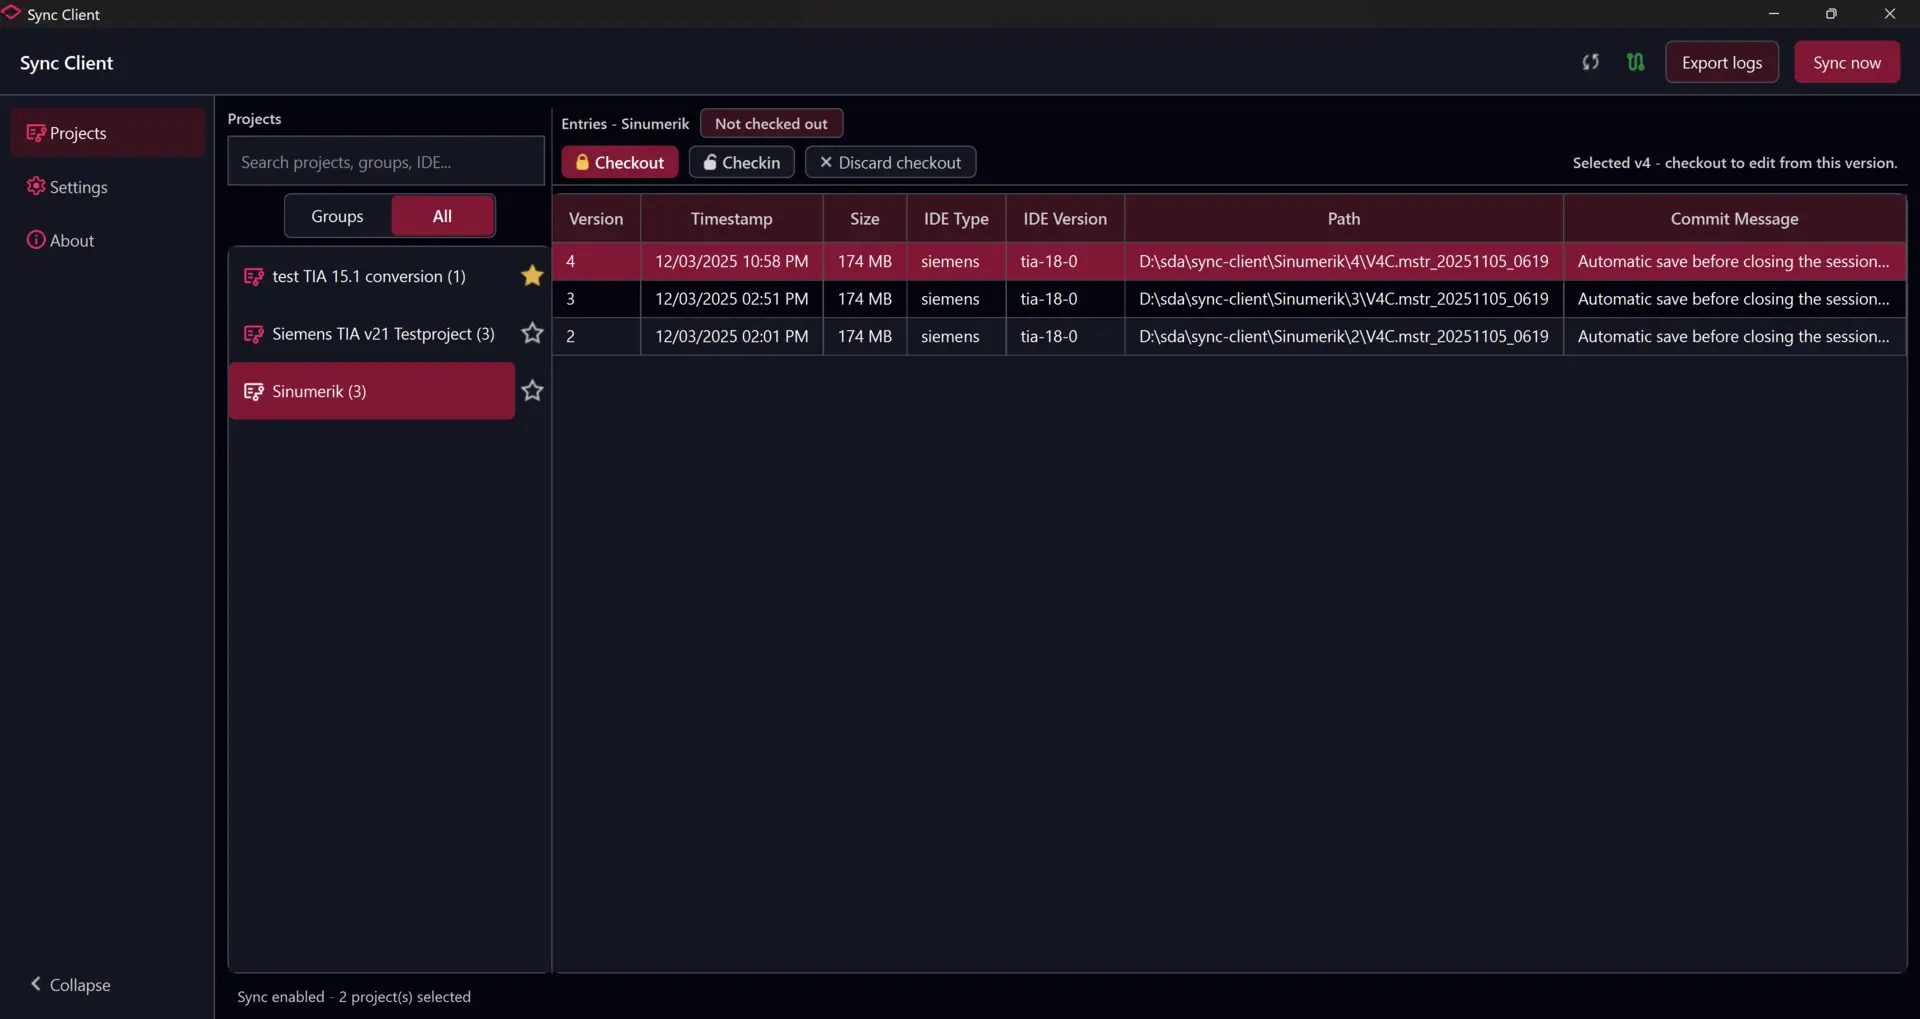
Open Projects and use search, All, or Groups to find a project. Selecting a project displays its available versions, timestamps, IDE information, local paths, commit messages, and synchronization state.
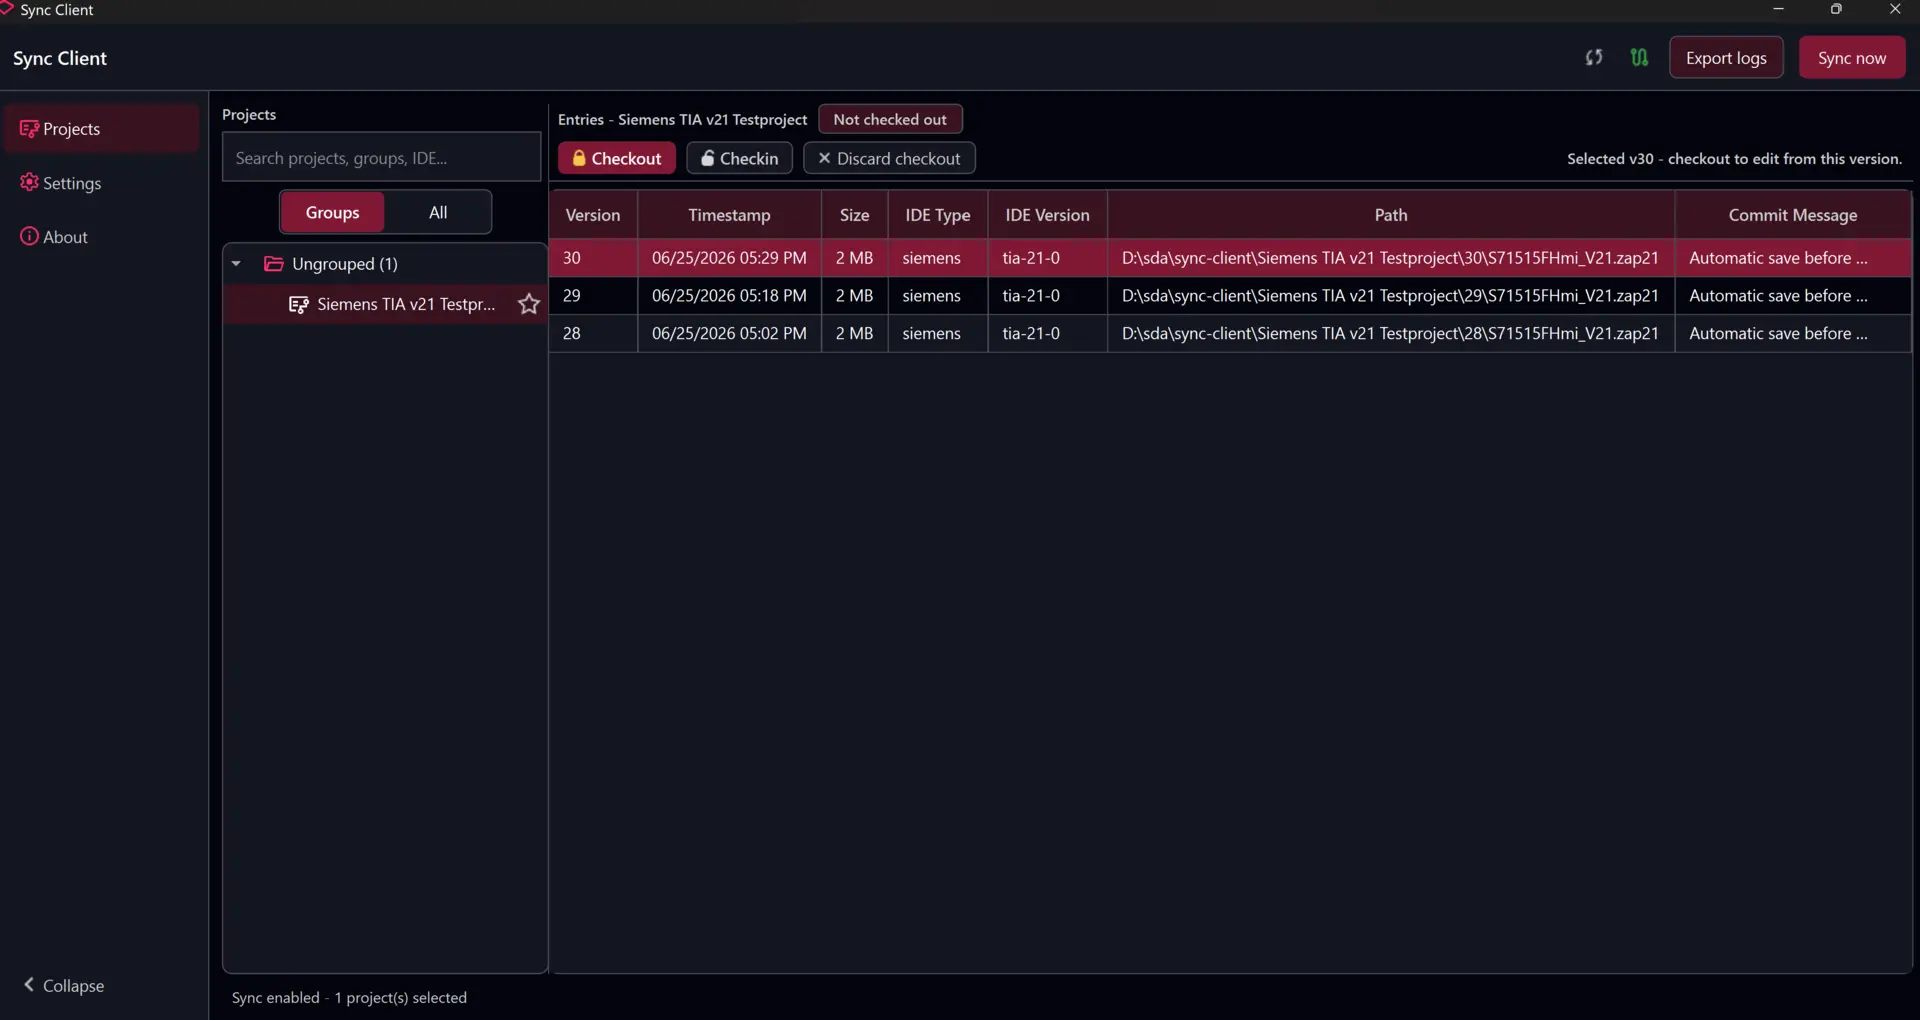
Use Sync now to request an immediate synchronization instead of waiting for the configured interval.
Check out and open a project
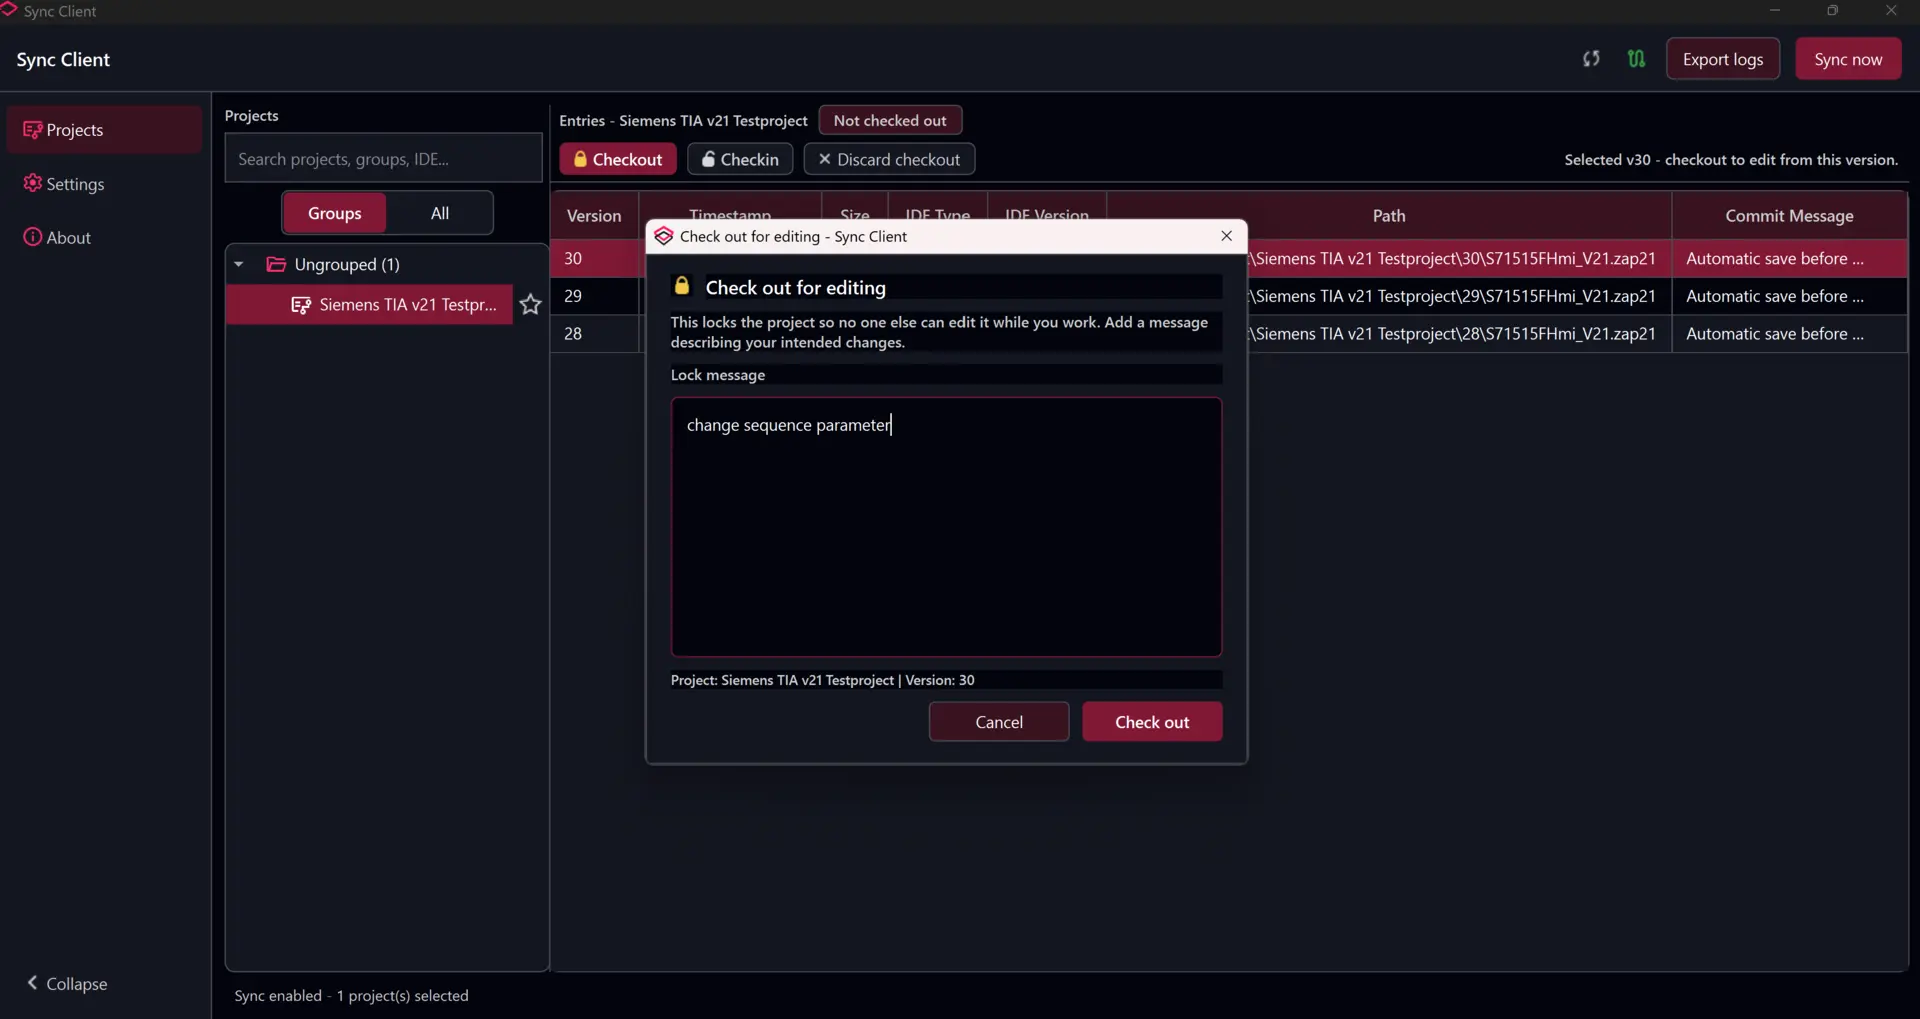
Select a project version and choose Checkout. You can add an optional lock message before confirming.
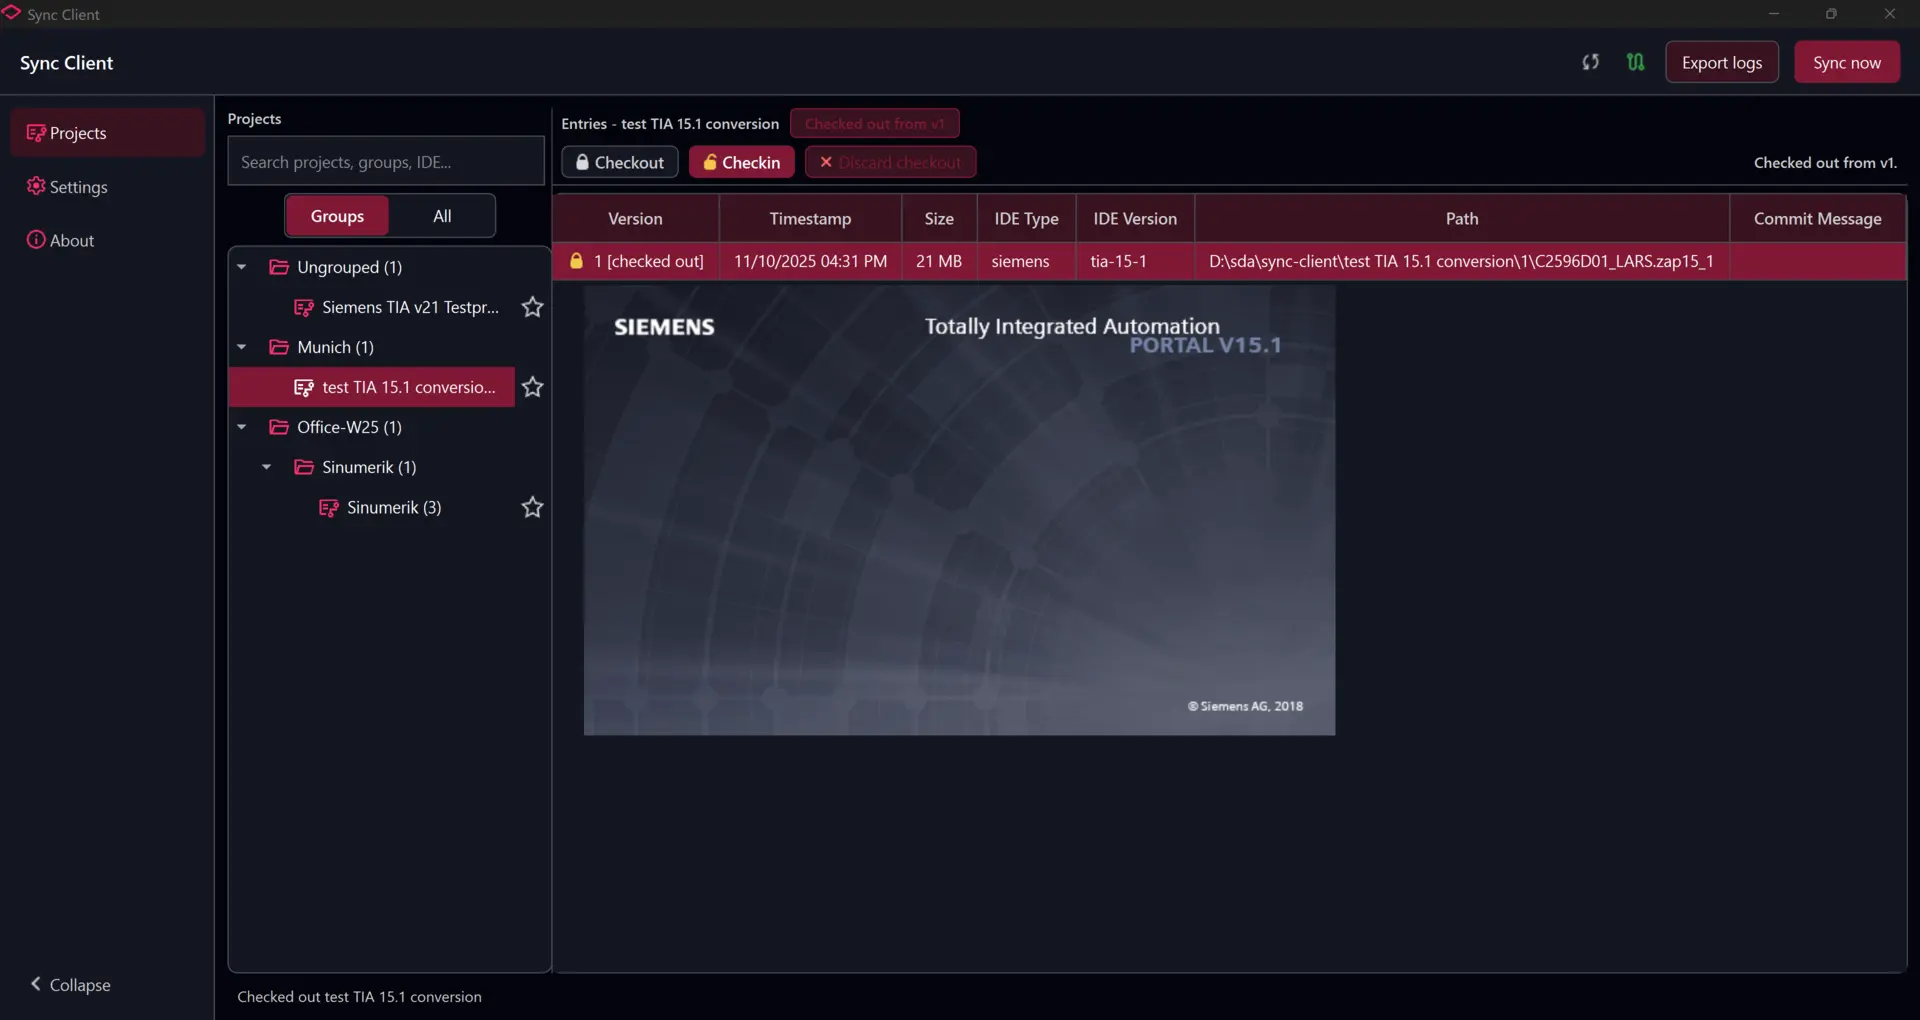
Once checkout completes, the project is locked for your work. The project view identifies the checked-out version and enables Open project, Checkin, and Discard checkout.
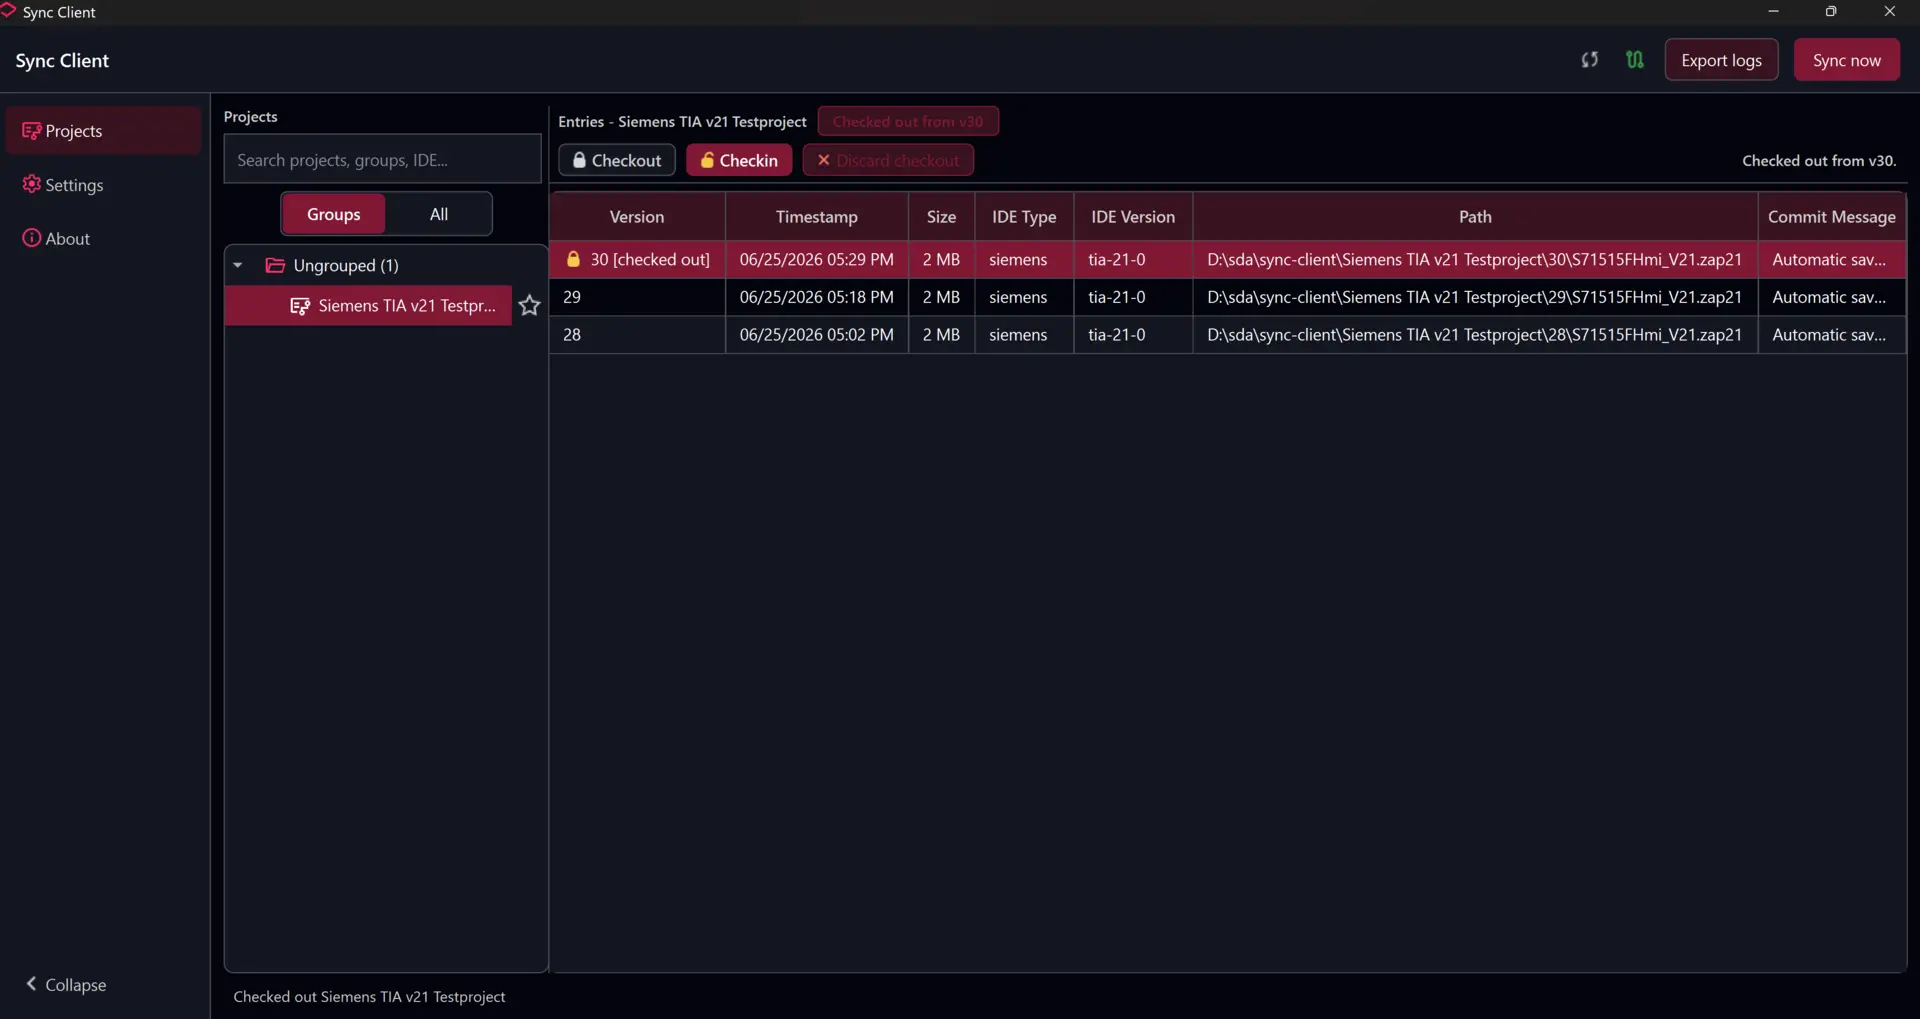
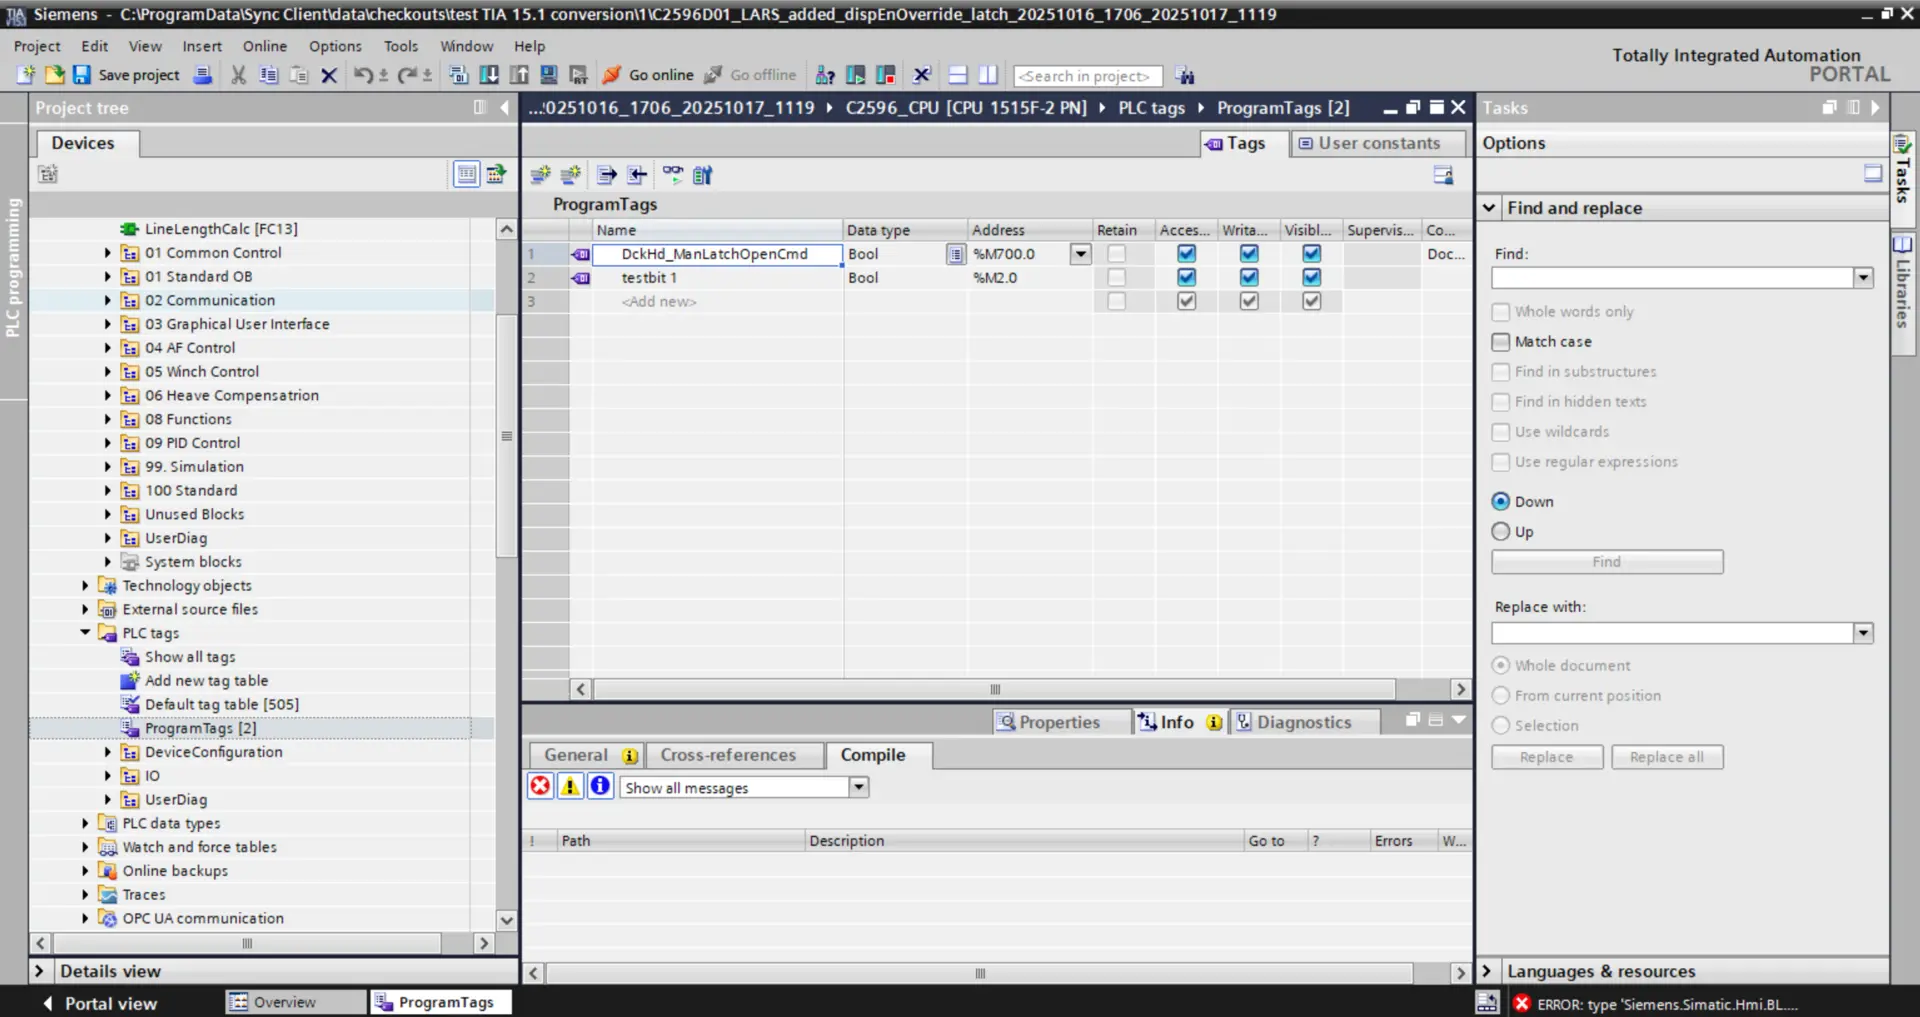
Choose Open project to open the local checkout using the engineering application registered for that project type. The corresponding IDE must be installed on the computer.
Sync Client first starts the registered engineering application and then opens the checked-out project.
Check in or discard changes
After editing, return to Sync Client and choose Checkin. Enter a message describing the changes and confirm.
Before checking in, close the external engineering IDE. An open IDE can leave project lock files in the checkout and prevent Sync Client from preparing the check-in.
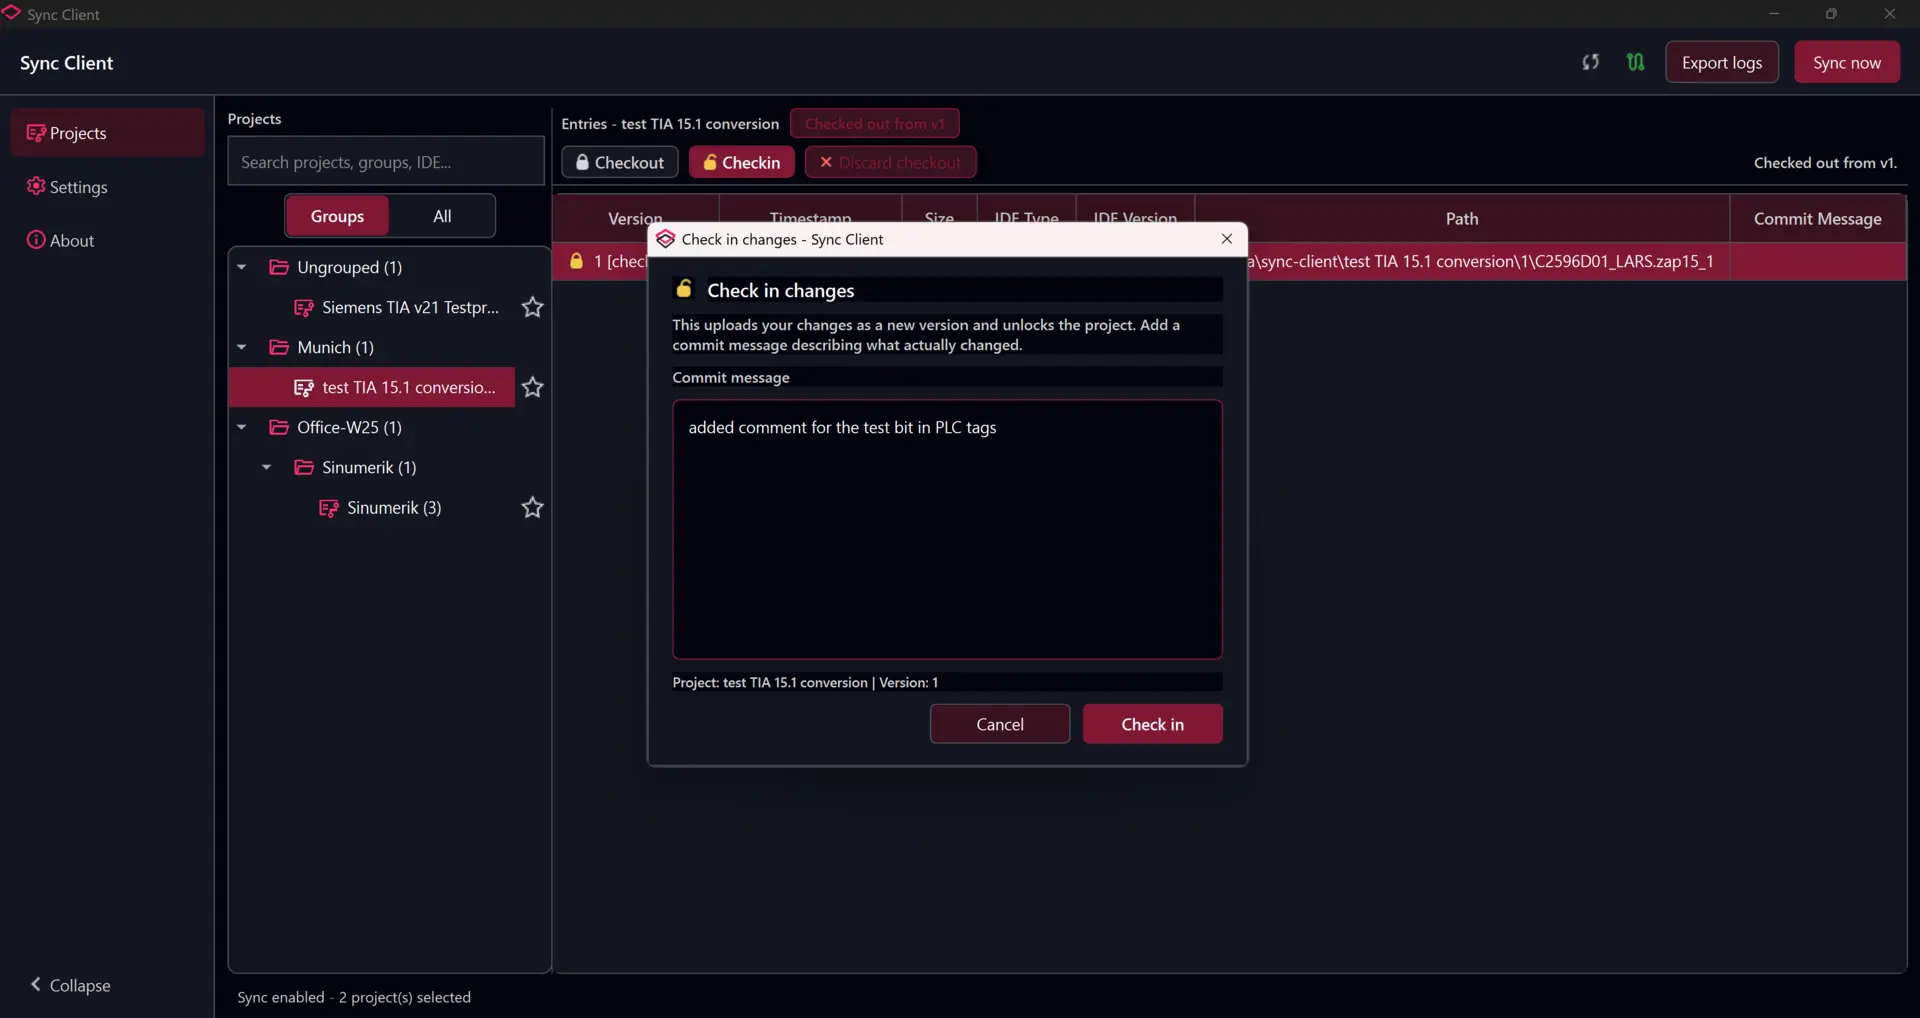
Sync Client uploads the changed project, adds the new version to the version history, and releases the project lock.
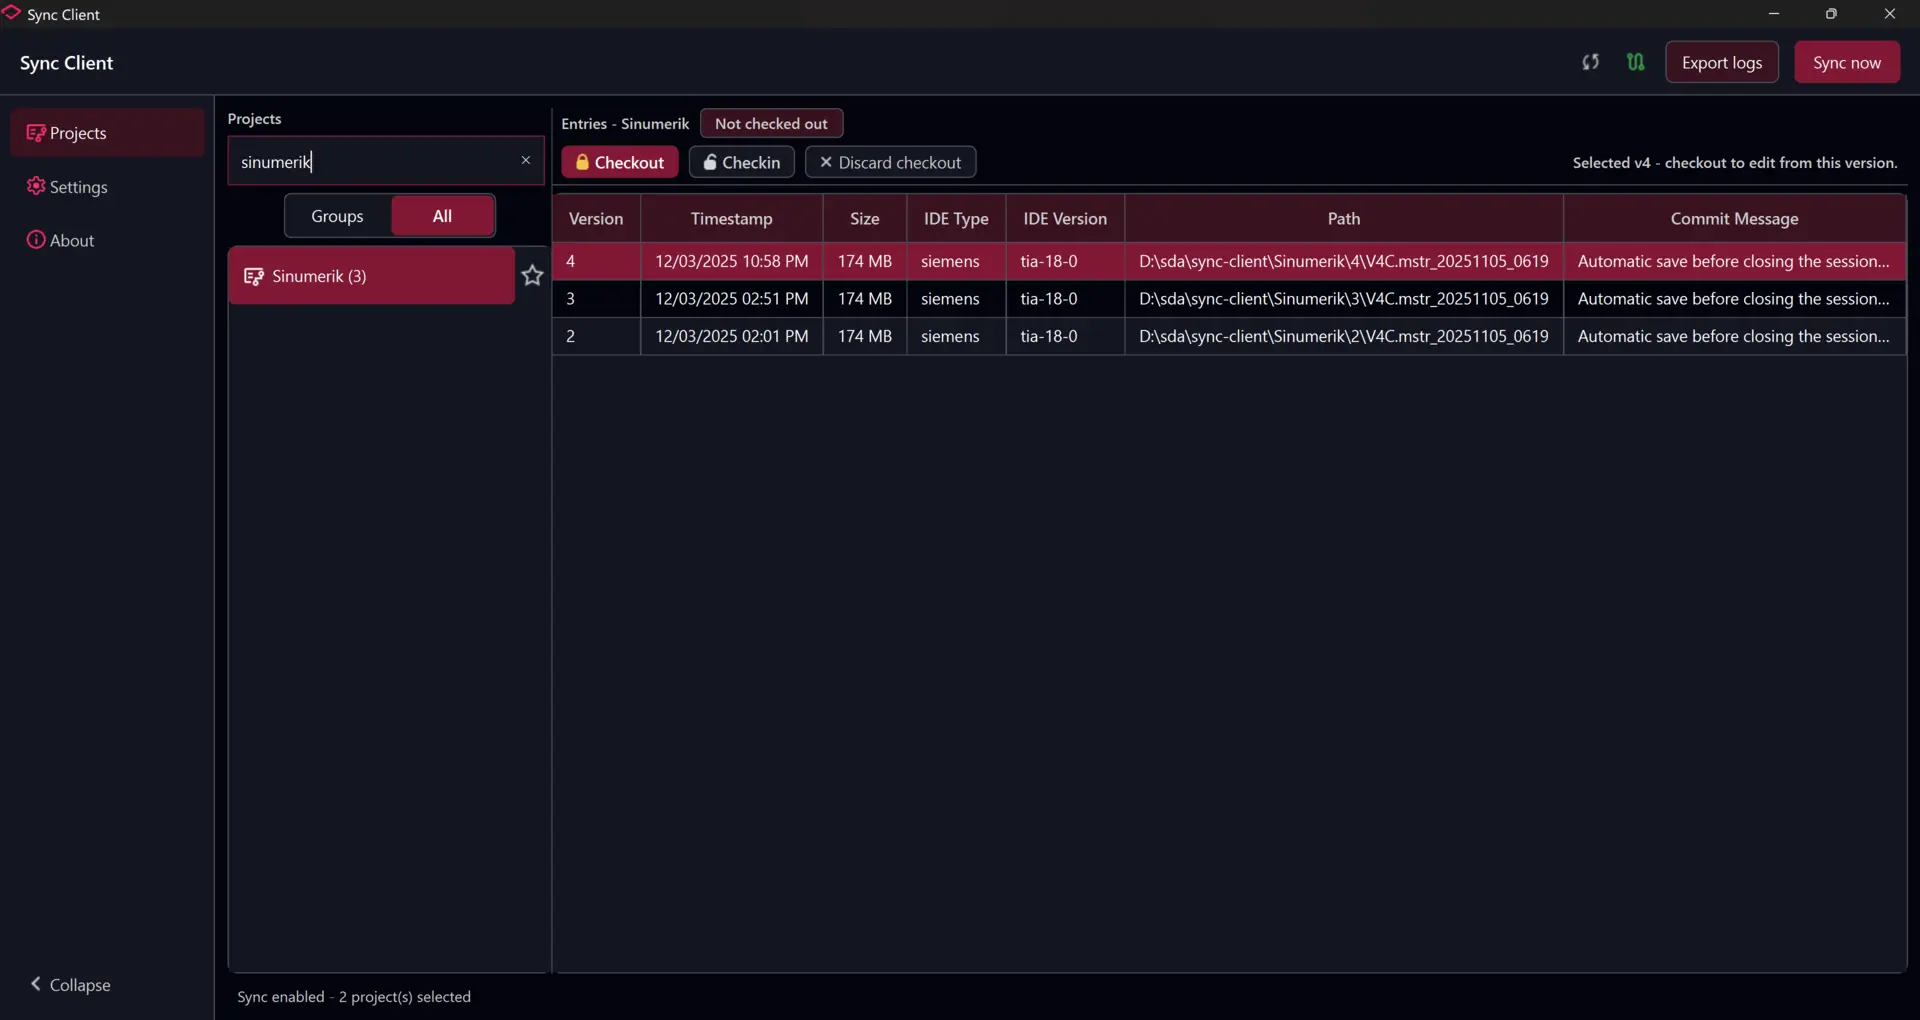
To abandon the local changes instead, choose Discard checkout and confirm.
Favourite projects
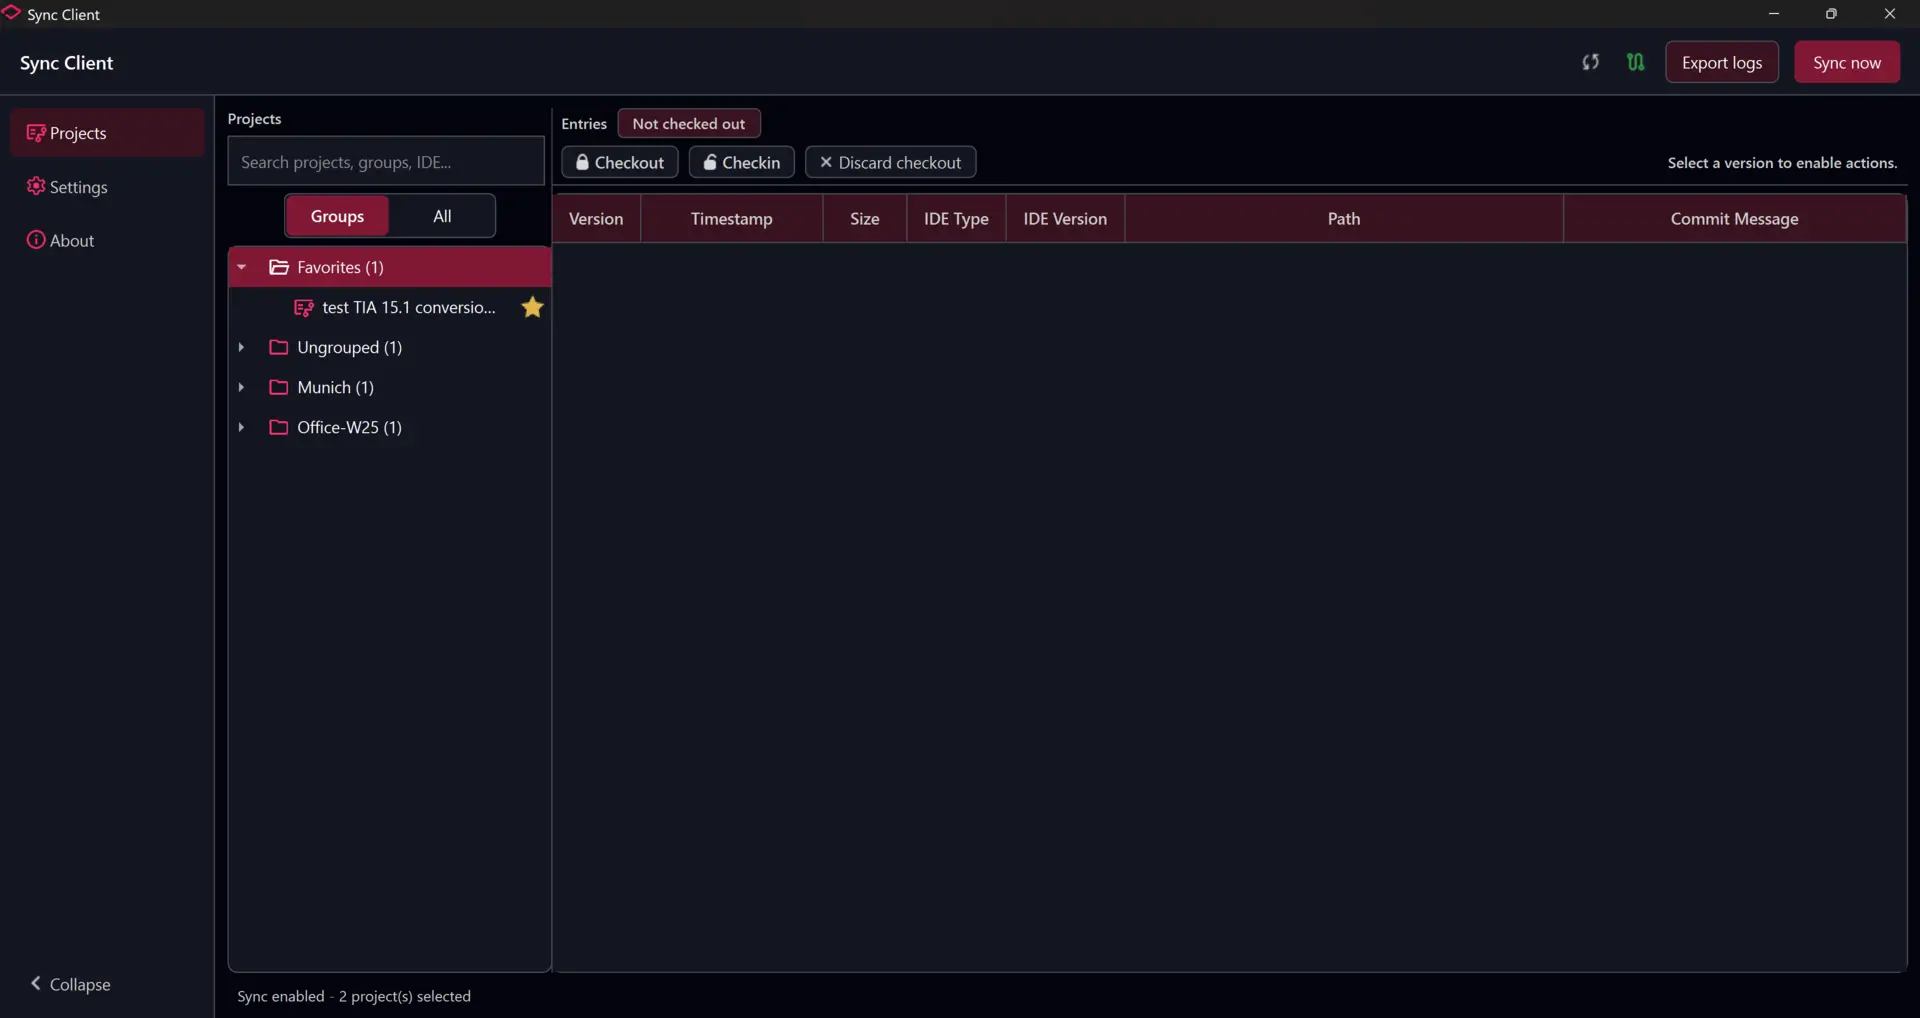
Use the star beside a project to add or remove it from Favorites. Filled stars identify favourite projects and provide quicker access from the project list.
Favourite markers also remain visible in the grouped project tree.
Help and diagnostics
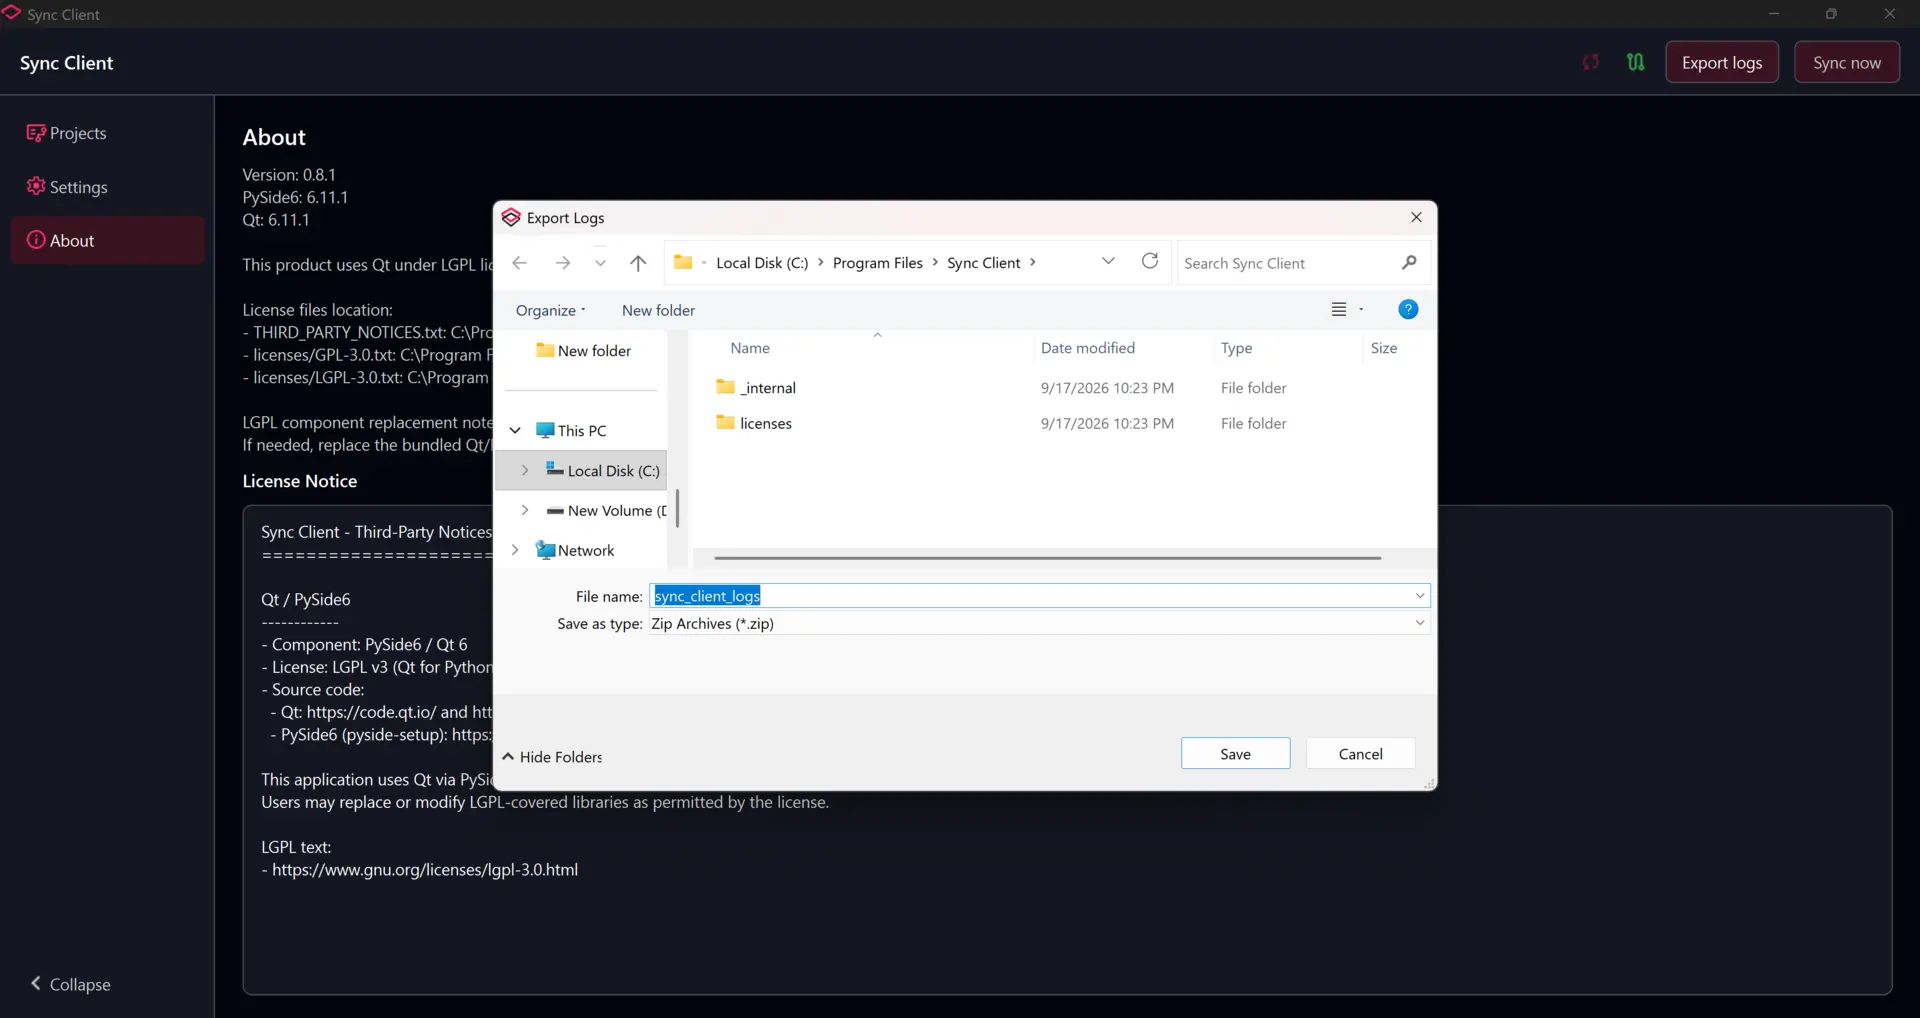
Use Export logs to create a diagnostic package for support. The export includes application and service logs but does not expose saved passwords.
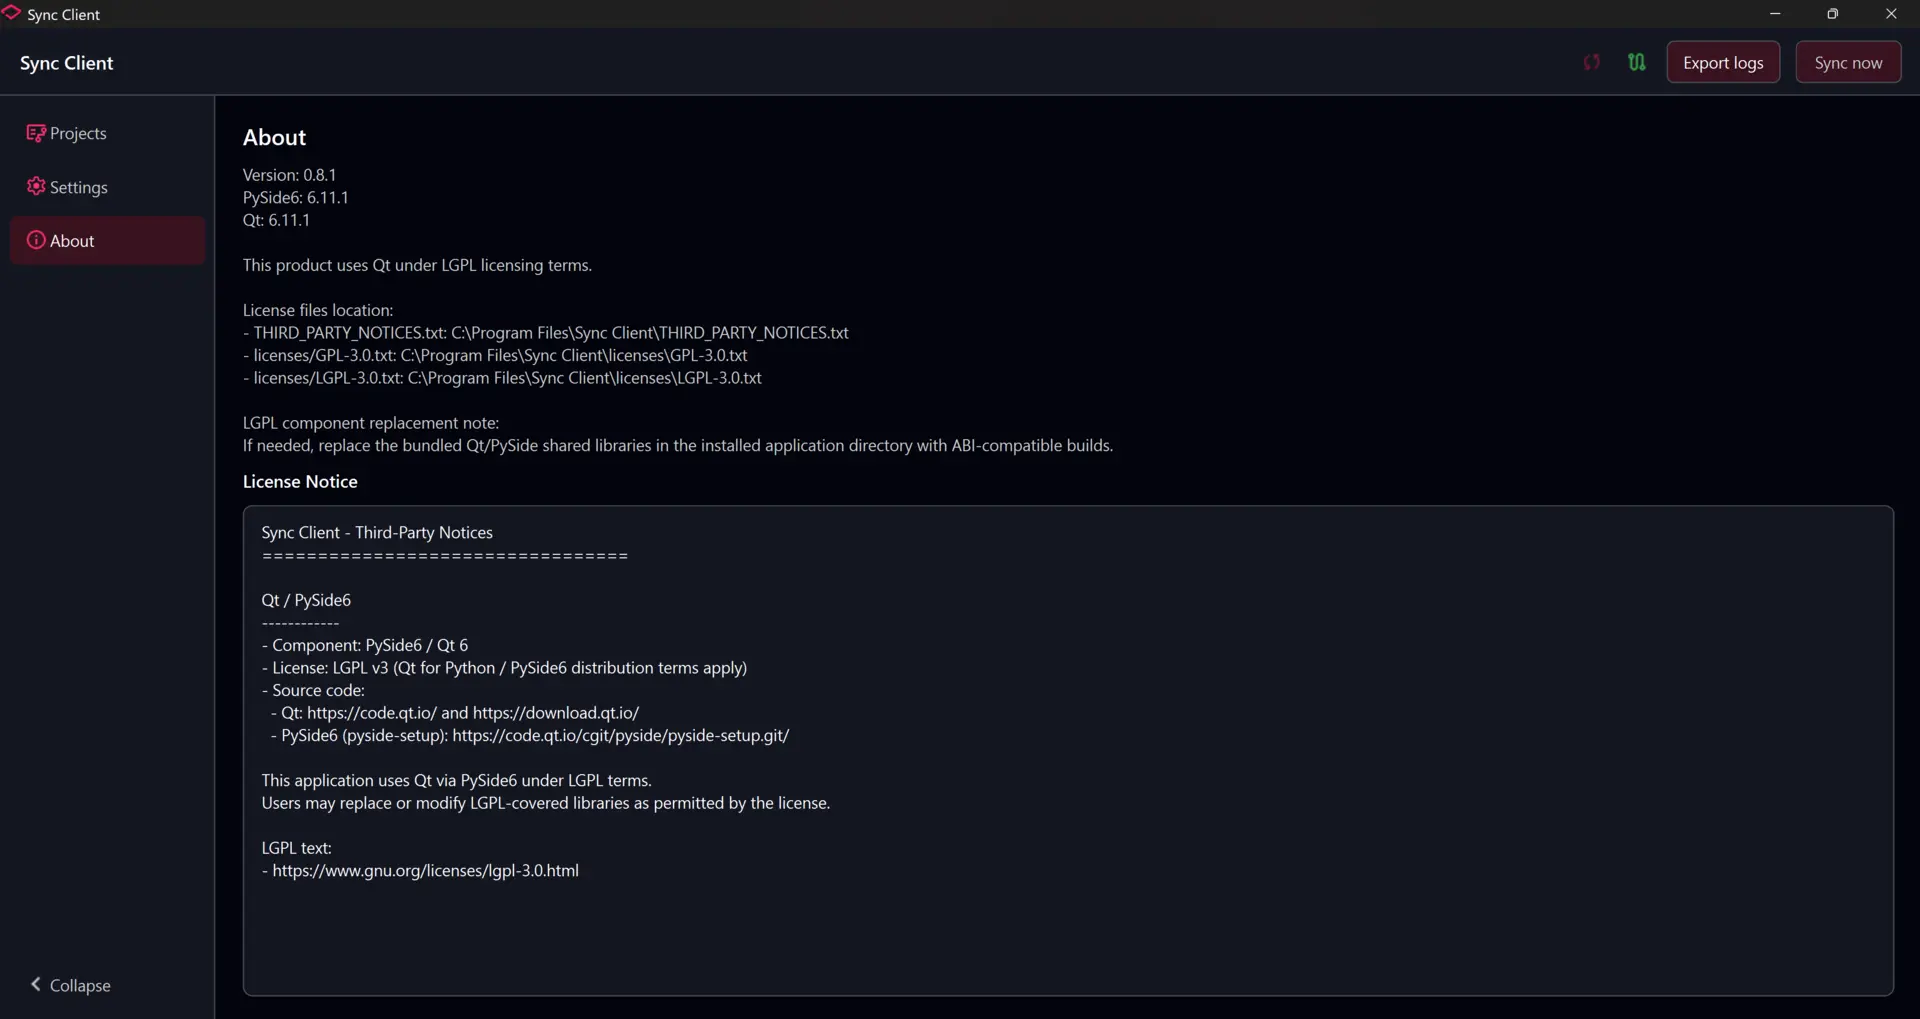
Open About to view the installed application version, licence information, and third-party notices.
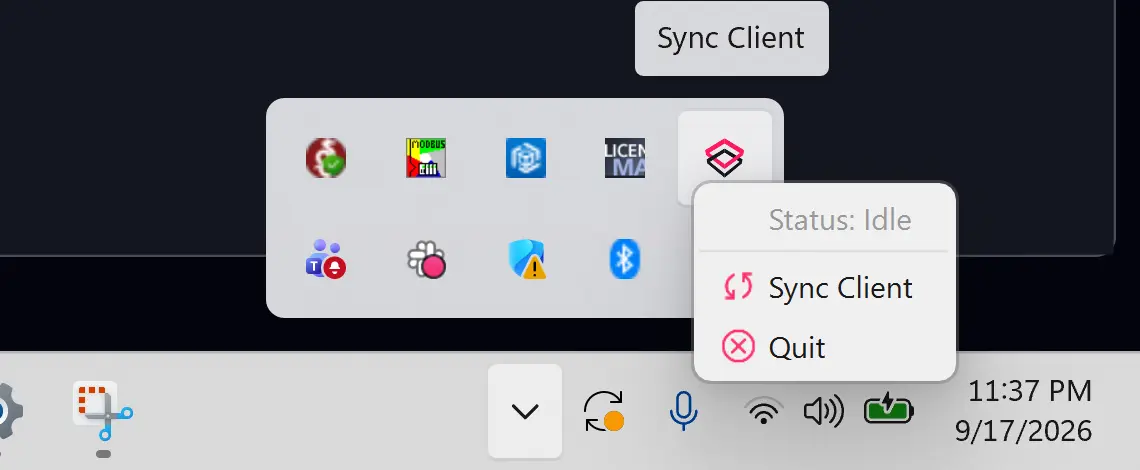
Sync Client can continue running in the system tray. Use the tray menu to open the application, view its status, or quit.
Command-line interface
The installation also provides sync-cli, which communicates with the same background service as the desktop application.
Check the service and synchronization state:
sync-cli --status
Display the current non-secret settings:
sync-cli --show-settings
Request an immediate synchronization:
sync-cli --sync-now
List active project checkouts:
sync-cli --show-checkouts
Run sync-cli --help to see all supported project and output options. Add --json when consuming command output from a script.
Uninstall Sync Client
Windows
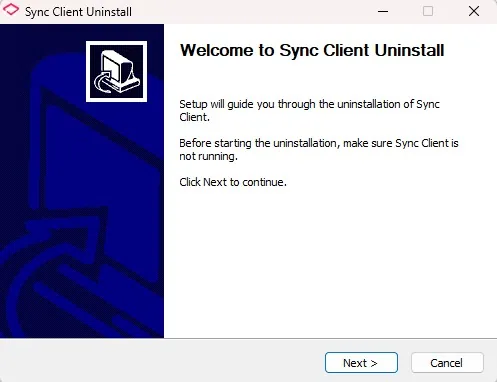
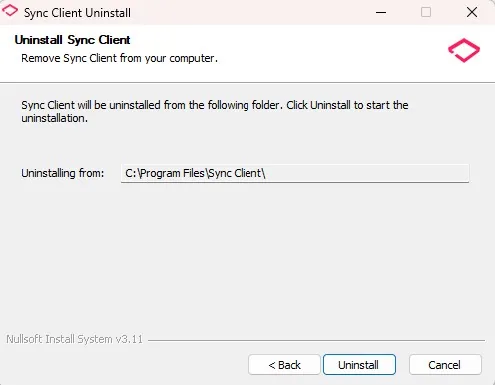
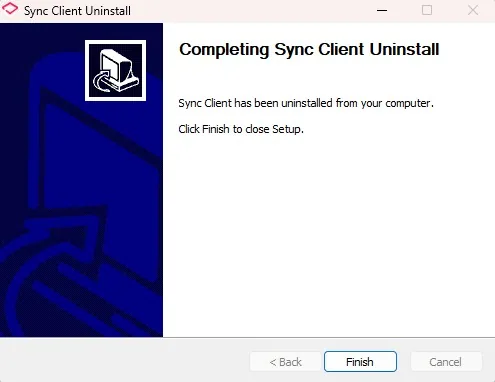
First close Sync Client from the system tray. Then open Windows Apps or Programs, select Sync Client, and complete the uninstall prompts.
Linux
-
Close Sync Client from the system tray menu before running the uninstaller.
-
Open a terminal in the extracted
sync-client-linuxdirectory. -
Run the uninstaller with administrator privileges:
sudo ./uninstall.sh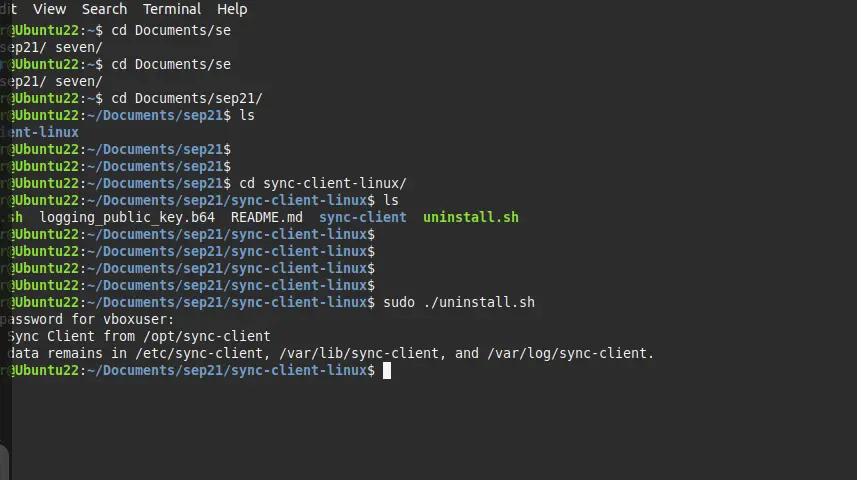
The uninstaller removes the application bundle from /opt/sync-client. Configuration, synchronized data, and logs remain in /etc/sync-client, /var/lib/sync-client, and /var/log/sync-client so that they can be reused or inspected later.